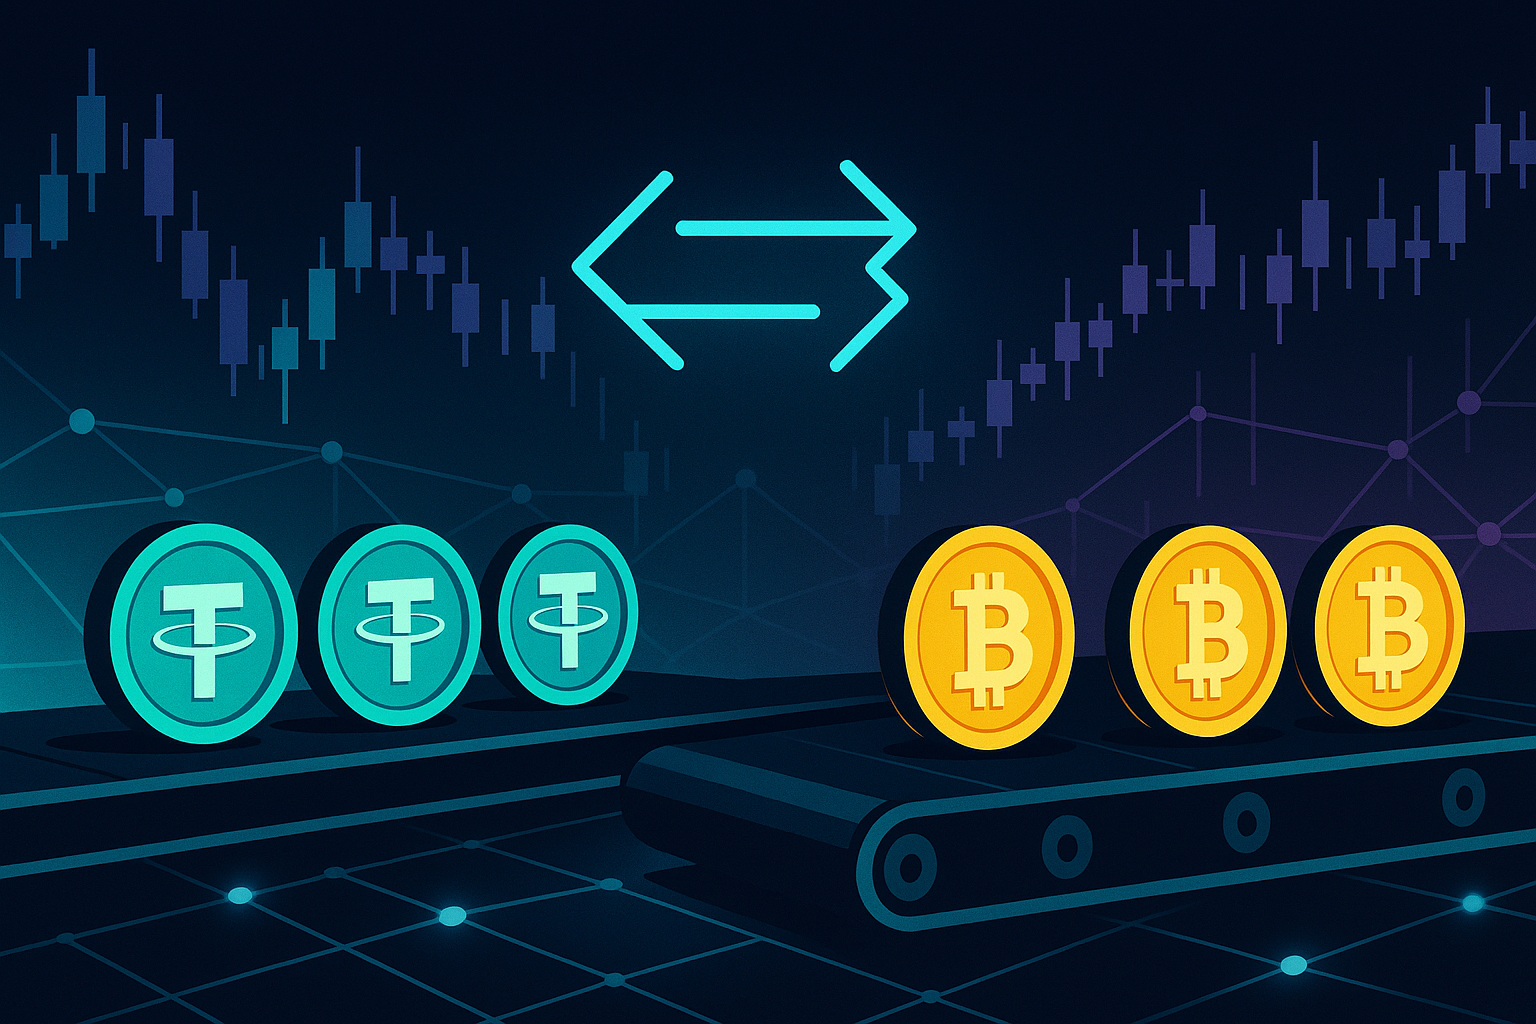
How To Swap USDT To BTC In 2026 (Fast, Private, No KYC Guide)
The quickest way to swap USDT to BTC in 2026 is to use a non-custodial instant swap service like GhostSwap: connect your wallet, choose USDT → BTC, enter your Bitcoin address, send Tether, and receive BTC directly in a few minutes. No account, no KYC, and no deposits are required. You can start a USDT to BTC swap here.
- Get a Bitcoin wallet and make sure your USDT is ready to send.
- Go to an instant swap site such as GhostSwap and select USDT → BTC.
- Enter the destination BTC address and confirm the quoted rate and fees.
- Send your USDT to the provided address and wait for BTC to arrive.
What You Need Before You Start
Swapping Tether (USDT) to Bitcoin (BTC) is straightforward, but preparing correctly saves you time and money.
1. A compatible crypto wallet
You need at least two wallets or two addresses:
- A wallet that holds your USDT (sending wallet)
- A Bitcoin wallet to receive BTC (receiving wallet)
Key points:
- USDT network matters: USDT exists on many blockchains (TRON, Ethereum, BNB Chain, etc.). Check exactly which chain your USDT is on (e.g., TRC20, ERC20). You can see this in wallets like MetaMask, Trust Wallet, Ledger Live, or on your exchange withdrawal screen.
- BTC address format: Use a valid Bitcoin address (starts with
1,3, orbc1). Never paste an address from another network like BEP20 or Polygon when the service expects Bitcoin mainnet.
Popular wallet options include:
- Software wallets: Trust Wallet, MetaMask (for USDT on EVM chains), Exodus
- Hardware wallets: Ledger, Trezor, Keystone for holding larger amounts safely
2. Small test amounts and minimum swap size
Most instant swap services and centralized exchanges have:
- Minimum swap amounts (often in the range of $20–$50 equivalent, but check live on the service)
- Network fees on the chain where your USDT lives (for example, TRON fees are usually low, while Ethereum gas can be higher)
Always:
- Start with a small test swap the first time you use a new platform.
- Check the minimum USDT for a USDT to BTC exchange quote before sending funds.
3. Time needed for the swap
Typical timing:
- Non-custodial instant swap (like GhostSwap): Usually 5–30 minutes depending on blockchain congestion.
- Centralized exchange: Account creation + KYC can take hours to days. Once verified, the trade plus withdrawals can take 30–90 minutes or more.
- P2P or DEX swaps: Anywhere from a few minutes to several hours, depending on liquidity and counterparty responsiveness.
Have at least 30–45 minutes free for your first swap so you are not rushed.
Method 1: Using GhostSwap (No KYC — Recommended)
This method is ideal if you want to swap USDT to BTC quickly without creating an account or submitting ID.
GhostSwap is a non-custodial instant crypto swap platform. You stay in control of your private keys, and the service simply exchanges one coin for another, sending the output directly to your wallet.
Step 1: Go to GhostSwap.io
Open your browser and visit GhostSwap.io.
On the homepage, you will see an exchange widget. For direct USDT to Bitcoin conversions, you can also go straight to the dedicated pair page: non-custodial USDT → BTC swap.
Confirm:
- The URL is spelled correctly.
- You see the secure HTTPS lock icon in the address bar.
Step 2: Select USDT in the exchange widget
In the swap widget:
- In the “You send” field, choose Tether (USDT).
- In the “You get” field, choose Bitcoin (BTC).
Then:
- Enter the amount of USDT you want to swap.
- Check the estimated BTC amount, including any service fee and expected rate.
Make sure you select the correct USDT network:
- If you hold USDT on TRON, choose USDT (TRC20).
- If your Tether is on Ethereum, pick USDT (ERC20).
- Match exactly what your wallet or current platform shows.
Step 3: Enter your wallet address
Next, provide the destination BTC address:
- Open your Bitcoin wallet and click Receive.
- Copy your Bitcoin mainnet address.
- Paste it into the “Recipient BTC address” field on GhostSwap.
Then:
- Double-check the pasted address character by character.
- Optionally, send a tiny test transaction first for extra peace of mind.
Confirm that you accept the terms and that you understand the rate may be floating, depending on how the quote is labeled.
Step 4: Send your crypto and receive BTC
After you confirm the details, GhostSwap will generate a deposit address (and sometimes a QR code) for your USDT.
Now:
- Open the wallet or platform where your USDT is stored.
- Choose Send, paste the USDT deposit address from GhostSwap, and enter the exact amount shown in the widget.
- Confirm the network matches (TRC20 vs ERC20 vs others).
- Submit the transaction and wait for blockchain confirmations.
Once GhostSwap detects the incoming USDT and your transaction has enough confirmations:
- GhostSwap executes the USDT to BTC trade on its backend routing.
- BTC is then sent directly to your specified Bitcoin address.
You can track the progress directly on the swap page. Typical completion time ranges from a few minutes to around half an hour, depending mainly on network speed.
Pros of swapping USDT to BTC with GhostSwap
- No KYC: Swap any supported amount within platform limits without ID checks.
- Non-custodial: You do not leave coins on an exchange account. BTC is sent straight to your wallet.
- Fast: No registration, password, or deposit/withdrawal queues. Just send and receive.
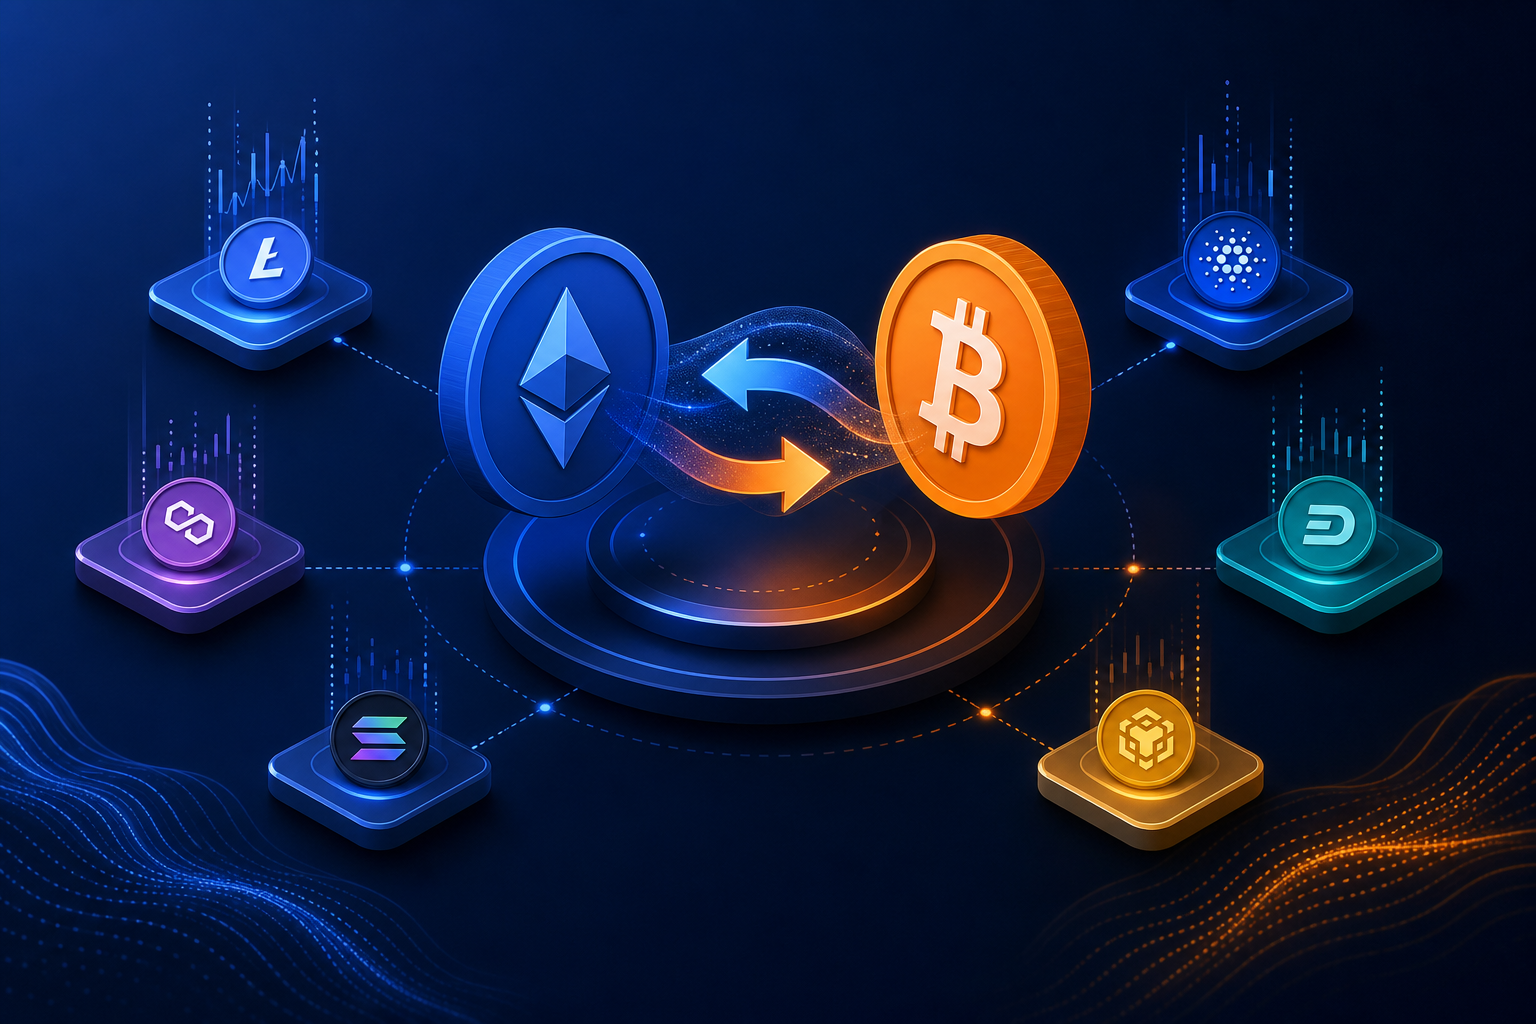
- 1,500+ pairs: You can swap USDT for BTC, ETH, stablecoins, and a large variety of altcoins on GhostSwap.
- Privacy-friendly: Less data shared, fewer centralized points of failure.
Cons of this method
- Crypto-to-crypto only: You cannot use fiat directly in the swap widget.
- Fiat requires an extra step: To go from bank card or bank transfer into USDT or BTC, you would use a separate “buy crypto” on-ramp, then swap.
You can swap USDT for BTC, ETH, USDT and 1,500+ other coins on GhostSwap without KYC.
Method 2: Using a Centralized Exchange
Centralized exchanges (CEXs) like Binance, Coinbase, or Kraken allow you to trade USDT for BTC on an order book. However, this method is more complex and requires more trust in a custodian.
How centralized exchange swaps work
The typical flow:
- Create an account: Sign up with email and password, enable 2FA.
- Complete KYC: Upload ID, sometimes proof of address, and wait for approval.
- Deposit USDT: Send your Tether from your wallet or another platform to the exchange’s USDT deposit address on the correct network.
- Trade USDT for BTC: Use the trading interface, pick the BTC/USDT market, and place a market or limit order.
- Withdraw BTC: After the trade, withdraw BTC to your private wallet.
Advantages of centralized exchanges
- High liquidity: Top exchanges usually have deep order books for the BTC/USDT pair.
- Potential advanced orders: Stop-loss, take-profit, and advanced strategies for traders.
- Additional services: Some users like staking, margin, or derivatives, though these add risk.
Disadvantages and risks
- KYC and privacy: You must provide ID, and the onboarding process can take a few hours or even days during peak times.
- Custodial risk: Your USDT and BTC sit in the exchange’s wallets, exposing you to exchange hacks, solvency issues, or account freezes.
- Complex UX: Order books, fees, and different networks can be confusing for beginners.
If your goal is simply to swap USDT to BTC quickly and withdraw, a non-custodial service like GhostSwap is usually more streamlined and private.
Method 3: P2P & DEX Options To Swap USDT For BTC
Beyond instant swap services and centralized exchanges, you can also convert USDT to BTC through peer-to-peer (P2P) platforms or decentralized exchanges (DEXs) with cross-chain bridges.
P2P marketplaces
On P2P platforms, you deal directly with another person who wants to trade USDT and BTC.
General process:
- Register on a P2P marketplace that supports USDT/BTC offers.
- Find a buyer or seller whose terms match your needs.
- Use the platform’s escrow to lock funds while payment is made.
- Release escrow once the payment or crypto has been received.
Pros:
- Sometimes better fiat rates if you are going between local currency and USDT/BTC.
- Flexible payment methods agreed upon between users.
Cons:
- Higher scam risk if you bypass platform protection.
- Swaps can be slower since you depend on a human counterparty.
- Many major P2P platforms now enforce KYC as well.
Using DEXs plus bridges
Because Bitcoin does not natively support smart contracts like Ethereum, direct USDT-to-BTC swaps on a single DEX are not common. Instead, people often use:
- A DEX (like Uniswap on Ethereum or PancakeSwap on BNB Chain) to swap USDT → wrapped BTC (e.g., WBTC).
- A bridge or centralized gateway to convert wrapped BTC to real BTC on the Bitcoin network.
This route is more technical and often involves multiple transactions and fees:
- Connect your wallet to the DEX on the appropriate network.
- Approve USDT and swap it for a BTC-pegged token (like WBTC or BTCB).
- Bridge the wrapped BTC to Bitcoin if you want native BTC in a Bitcoin wallet.
Pros:
- Non-custodial: You maintain control of keys throughout.
- Composability with DeFi protocols if you keep BTC in wrapped form.
Cons:
- Complex: Multiple steps, contracts, and bridge interfaces.
- Bridge risk and smart contract risk.
- More gas fees, especially on Ethereum.
For most users in 2026 who simply want native BTC in a regular Bitcoin wallet, an instant non-custodial swap like swapping USDT to BTC on GhostSwap is easier and more direct than DEX + bridge setups.
Tips for Staying Safe When You Swap USDT To BTC
Crypto safety starts with habits. Here are key practices to protect your funds every time you convert Tether to Bitcoin.
1. Verify token contracts and networks
USDT exists on many chains, and sending to the wrong place can mean permanent loss.
- Check the official Tether site here for supported blockchains and details.
- Confirm the contract address on reliable aggregators like CoinGecko’s USDT page.
- Match the network name displayed on your wallet, swap service, and any exchange used.
2. Use reputable wallets and keep backups
Choose well-maintained wallets with a strong reputation:
- Bitcoin: Sparrow, BlueWallet, Electrum, or hardware wallets like Ledger and Trezor.
- USDT on Ethereum/other chains: MetaMask, Trust Wallet, Exodus, Ledger Live.
Security checklist:
- Write down your seed phrase on paper, not in screenshots or cloud notes.
- Store backups in at least two secure physical locations.
- Never share your seed phrase or private keys with anyone, ever.
3. Double-check addresses and amounts
Before confirming any transaction:
- Verify the first and last 4–6 characters of the address.
- Confirm you pasted a BTC address in the BTC field, not an address from another chain.
- Review the amount of USDT and ensure it meets the minimum amount for the service.
If you are nervous with larger amounts, do a small test swap first.
4. Be cautious with rates and slippage
Bitcoin and USDT prices move constantly. To stay informed:
- Check live prices and market cap on resources like CoinMarketCap’s Bitcoin page.
- Understand that floating-rate swaps can change slightly between quote and execution if the market is volatile.
If you need strict price control, a centralized exchange with limit orders may be better, but that trades away some privacy and simplicity.
5. Prefer non-custodial services
With non-custodial swaps like GhostSwap:
- You avoid leaving coins in centralized wallets for long periods.
- You minimize risks from exchange hacks or account freezes.
- You retain full custody while still enjoying a straightforward interface.
Use custodial platforms for the shortest time necessary, then withdraw to your own wallet.
Ready to Trade Tether (USDT)?
If you are ready to convert Tether to Bitcoin, you can start a fast, non-custodial swap here: swap crypto instantly from USDT to BTC with no KYC.
Frequently Asked Questions
Can I swap USDT to BTC without ID?
Yes. You can swap USDT to BTC without ID using a non-custodial instant swap like GhostSwap. You do not need to register an account or upload documents. You simply:
- Open the swap widget.
- Select USDT → BTC and input your Bitcoin address.
- Send USDT and receive BTC in your wallet.
By contrast, most centralized exchanges require full KYC before allowing USDT deposits or BTC withdrawals.
What is the best method to swap USDT to BTC in 2026?
The best method depends on your priorities:
- For speed, privacy, and simplicity: A non-custodial instant swap like GhostSwap’s private exchange is usually the top choice.
- For advanced trading tools: A major centralized exchange might suit you, but you will trade convenience and privacy for features.
- For advanced DeFi users: DEX + bridge routes can work, but they are more complex and carry smart contract risk.
For most retail users who simply want to move from Tether to Bitcoin and hold, an instant swap service is the most balanced option.
How long does it take to swap USDT to BTC?
Timings vary by method:
- GhostSwap and similar instant swaps: Usually 5–30 minutes after your USDT transaction is confirmed on-chain.
- Centralized exchanges: If you already passed KYC, the trade itself is instant, but deposits and withdrawals can add 30–90 minutes. If you still need KYC, onboarding can take hours or days.
- P2P and DEX routes: From a few minutes to several hours depending on counterparty response and blockchain congestion.
In all cases, network conditions and confirmation requirements are the main bottlenecks.
Is it safe to use GhostSwap for USDT to BTC swaps?
GhostSwap is designed as a non-custodial swap service, which improves safety compared to leaving funds on a large centralized exchange for long periods.
Key safety aspects:
- GhostSwap does not hold your long-term balances; it only processes a swap transaction and sends funds to your wallet.
- You do not share personal documents, which reduces the risk associated with data leaks.
- Your private keys never leave your wallet; you just sign a single outgoing transaction.
Of course, no crypto service is entirely without risk. Always:
- Verify you are on the correct GhostSwap domain.
- Double-check addresses and amounts before sending USDT.
- Start with a smaller test swap if you are using it for the first time.
When used carefully, non-custodial swaps like GhostSwap offer a secure, efficient way to move from USDT into BTC directly in your own wallet.