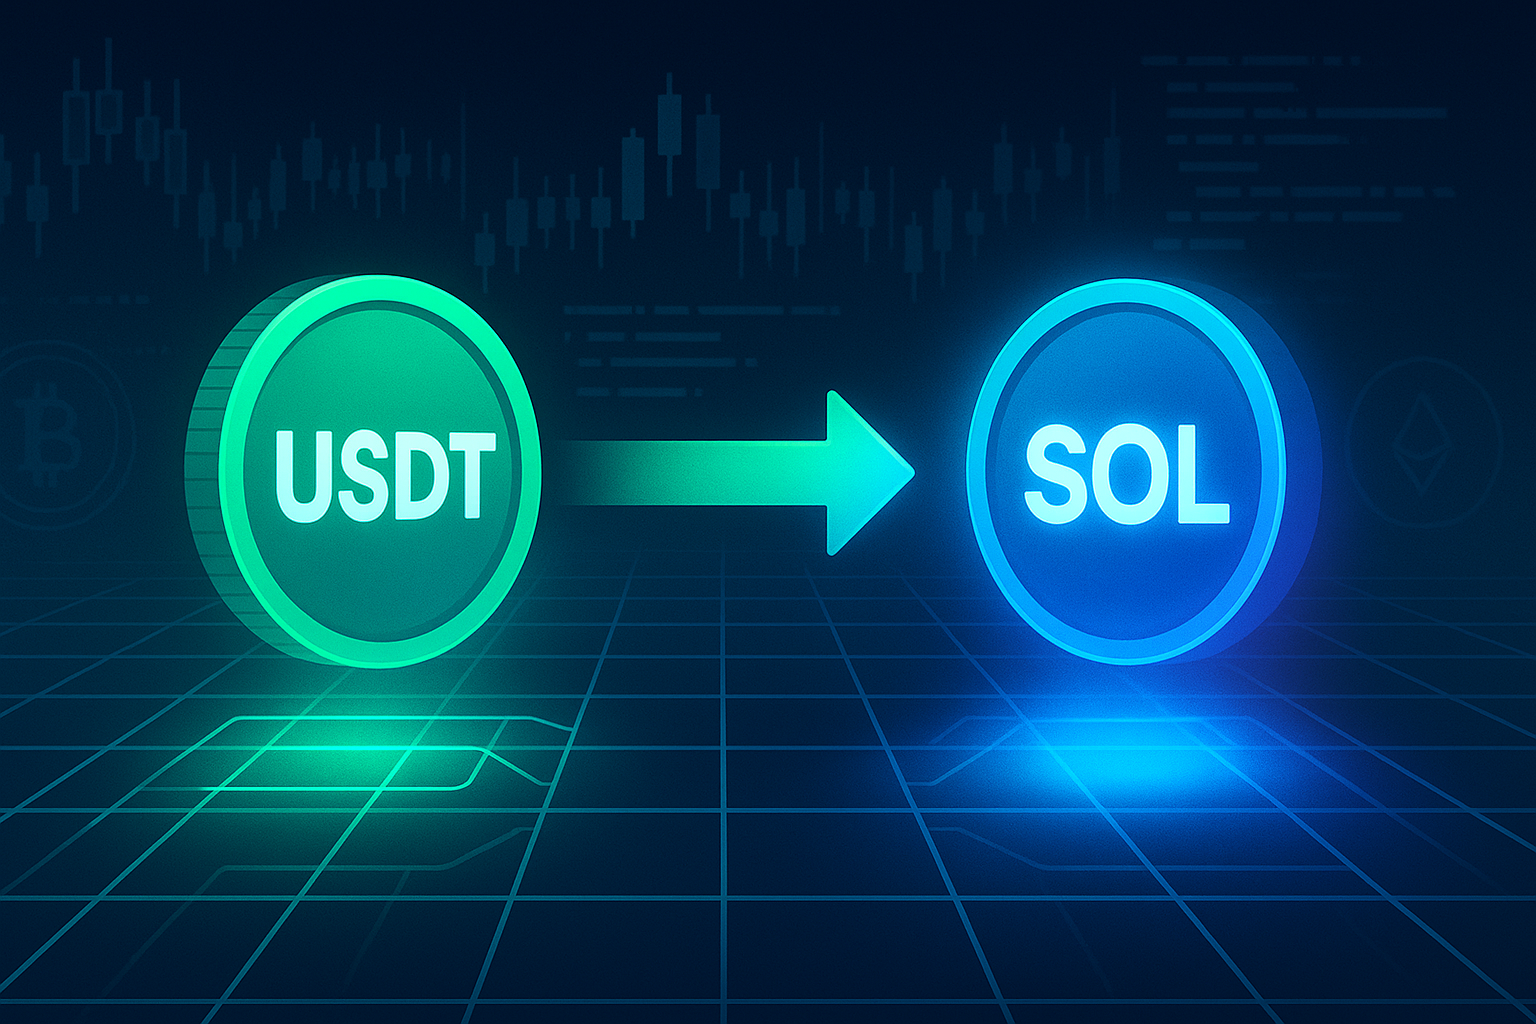
USDT to SOL Swap: A Complete, Practical Guide for Fast and Secure Conversions
Converting Tether (USDT) to Solana (SOL) has become a common move for traders and crypto users who want fast transactions and access to the Solana ecosystem. Whether you are moving stable holdings into a high-performance chain or preparing to use DeFi apps on Solana, understanding how a secure, low‑fee USDT to SOL swap works is essential.
Today, you no longer have to rely on centralized exchanges to make this conversion. Non‑custodial platforms let you swap crypto instantly from USDT to SOL without handing over control of your private keys, giving you more privacy and flexibility.
This guide explains why USDT to SOL swaps matter, the main benefits and risks, and gives you a straightforward, step‑by‑step process you can follow, along with practical tips to keep your funds safe and fees low.
Why USDT to SOL Swap Matters
USDT is a popular stablecoin pegged to the US dollar and widely used for trading, hedging, and transferring value across chains. SOL, on the other hand, is the native asset of the Solana blockchain, required for:
- Paying transaction fees on Solana
- Interacting with DeFi protocols and dApps
- NFT trading and on‑chain gaming
- Staking and participating in Solana’s network security
A reliable USDT to SOL swap is important because it bridges the gap between stability and utility:
- From stability to growth: Move from a dollar‑pegged asset to a network token that can appreciate or be used in yield‑generating strategies.
- On‑chain usability: You need SOL to pay gas on Solana, even if you mostly hold stablecoins.
- Capital mobility: Easily move value across ecosystems and chains, positioning yourself where the best opportunities are.
As Solana continues to gain traction due to its speed and low costs, more users are looking for efficient routes from USDT to SOL that do not introduce unnecessary custodial risk.
Key Benefits of Swapping USDT to SOL
Choosing the right method for your USDT to SOL swap can unlock several advantages, especially when using non‑custodial and privacy‑respecting services.
1. Faster and Cheaper Transactions
SOL transactions are typically confirmed in seconds and cost a fraction of a cent. By converting some of your USDT to SOL, you gain the ability to:
- Send funds at high speed, ideal for active trading or rapid transfers
- Interact with dApps where small, frequent transactions would be expensive on other chains
- Experiment with DeFi strategies without being weighed down by gas fees
2. Access to the Solana Ecosystem
SOL is your gateway token. Once you have it, you can:
- Provide liquidity in Solana‑based DEXs and earn trading fees
- Stake SOL with validators to earn rewards
- Trade NFTs, participate in launchpads, and use Solana‑native tools
Converting USDT to SOL is often the first step in fully using what the Solana network offers.
3. Greater Control with Non‑Custodial Swaps
When you use a non‑custodial swap for USDT to SOL, you keep your assets in your own wallet while the conversion is processed. This means:
- No centralized entity briefly holding your funds
- Reduced counterparty risk compared to leaving coins on an exchange
- More privacy, especially if the platform does not require intrusive KYC for modest amounts
Risks and Drawbacks to Consider
Every crypto move carries trade‑offs. Before you rush into a USDT to SOL swap, make sure you understand the potential downsides.
1. Price Volatility
SOL is a volatile asset. By swapping USDT (a stablecoin) into SOL, you are accepting price risk:
- The value of SOL in dollar terms can fall quickly, impacting your portfolio.
- Short‑term traders need to monitor market conditions closely.
If you are risk‑averse or have a short time horizon, carefully size your position and consider staggered entries.

2. Network and Smart Contract Risk
While Solana has a strong track record of speed and scale, it is not risk‑free:
- Network congestion or outages can delay transactions.
- Using complex DeFi protocols adds smart contract risk if bugs or exploits emerge.
To reduce risk, stick to reputable wallets and swap platforms that prioritize security and transparency.
3. Fees and Slippage
Swapping always implies some cost:
- Network fees: Paid to miners or validators on the chains you use.
- Service fees: Charged by the swapping platform to facilitate the trade.
- Slippage: The difference between the quoted price and the final executed rate, especially in volatile markets.
You can manage these costs by paying attention to quoted rates, choosing the right time of day, and selecting platforms that clearly disclose their fee structure.
How to Perform a USDT to SOL Swap: Step‑by‑Step
The exact steps vary depending on which chain your USDT is on and which wallet you use. The outline below covers the typical non‑custodial workflow and includes tips that apply broadly.
Step 1: Choose Your Wallets
You will generally need:
- A wallet holding USDT on your chosen source network (for example, Ethereum, TRON, or Solana).
- A Solana wallet address ready to receive SOL (such as Phantom, Solflare, or another reputable Solana wallet).
Make sure both wallets are properly backed up with a seed phrase stored securely offline.
Step 2: Select a Swap Platform
You can swap USDT to SOL on:
- Centralized exchanges (CEXs)
- On‑chain decentralized exchanges (DEXs)
- Dedicated instant swap services that act as a bridge between wallets and networks
If you prefer privacy and do not want to deposit onto an exchange, a private exchange for USDT to SOL swaps can be a convenient option. Look for:
- Transparent fee and rate display
- Non‑custodial design, so you keep control of your keys
- Support for your USDT source chain and Solana as a destination
Step 3: Enter the Swap Details
On your chosen platform:
- Select USDT as the coin you are sending.
- Select SOL as the coin you want to receive.
- Specify how much USDT you wish to convert.
- Paste your Solana wallet address for receiving SOL. Double‑check each character because Solana addresses are not reversible.
The interface should show you:
- The estimated amount of SOL you will receive
- The estimated rate and any fee included in the quote
Step 4: Confirm and Send Your USDT
After reviewing the details:
- Confirm the swap and note the USDT deposit address or QR code the service provides.
- Send your USDT from your wallet to that address.
- Ensure network settings (like gas fee level) are sufficient for timely confirmation on your source chain.
The swap service will detect your incoming USDT transaction once it is confirmed and then process the conversion to SOL.
Step 5: Receive SOL in Your Solana Wallet
After the service completes the USDT to SOL swap:
- You should see the incoming SOL in your Solana wallet within minutes, depending on chain conditions.
- Check your wallet balance and transaction history to verify the correct amount arrived.
At this point, your USDT has successfully been converted to SOL, ready for trading, staking, or using on Solana dApps.
Practical Tips for a Smooth and Safe USDT to SOL Swap
Small habits can make a big difference in safety and efficiency. Consider the following practices whenever you convert USDT to SOL.
1. Always Verify Networks and Addresses
- Confirm which chain your USDT is on and that you are sending it to a compatible address type.
- When pasting your Solana address, compare the first and last few characters before confirming any transaction.
- Avoid manually typing long addresses to minimize errors.
2. Test with a Small Amount First
Before swapping a large sum:
- Send a small amount of USDT and complete a small USDT to SOL swap.
- Confirm that the SOL arrives correctly in your wallet.
- Scale up only after you are confident everything is configured correctly.
3. Monitor Rates and Slippage
Market conditions change quickly. To optimize your rate:
- Compare the quoted swap rate with a reference market price.
- Avoid swapping during extremely volatile periods if possible.
- Use platforms that clearly show you the expected output and any slippage tolerance.
4. Keep Security a Priority
- Use wallets from trusted providers and keep your software updated.
- Store seed phrases and private keys offline; never share them with anyone or any website.
- Beware of phishing sites that imitate popular swap platforms. Always check the URL carefully.
5. Track Your Activity for Tax and Accounting
In many jurisdictions, swapping one crypto asset for another can be a taxable event. Keep:
- Transaction hashes for your USDT send and SOL receive
- Timestamps and amounts in both coin and approximate fiat value
- Exported histories from your wallets or swap services where possible
Proper records will make it easier to report accurately and avoid issues later.
Conclusion: Making USDT to SOL Swaps Efficient, Private, and Secure
Swapping USDT to SOL is a practical move if you want fast, low‑fee transactions and direct access to the growing Solana ecosystem. By understanding the benefits, being honest about the risks, and following a clear process, you can convert between these assets with confidence.
Whenever you perform a USDT to SOL swap, focus on three things: control of your keys, transparency of fees and rates, and security of the tools you use. Non‑custodial services that let you swap USDT to SOL privately and instantly can be a convenient choice if you value privacy and prefer not to park funds on centralized exchanges.
Take your time, start with small test amounts, and build a repeatable process. With the right approach, moving from USDT to SOL becomes a routine, low‑friction step in your broader crypto strategy rather than a stressful one‑off event.
Ready to Swap?
Convert your crypto instantly on GhostSwap — no KYC, no sign-up required.
Popular swaps: BTC to XMR | BTC to ETH | XMR to BTC | ETH to XMR | BTC to SOL