How to Swap From Hardware Wallet (Ledger & Trezor) Safely and Efficiently
Introduction
If you store your crypto on a Ledger or Trezor, you are already ahead of most users in terms of security. The next step is learning how to swap from hardware wallet Ledger Trezor without exposing your funds to unnecessary risk. Whether you are rebalancing your portfolio, taking profits, or moving into a different chain, it is crucial to understand how to swap directly from your hardware wallet in a secure, non-custodial way.
Many traders still move coins from their hardware wallet to a centralized exchange just to trade, then move them back again. This process is slow, expensive, and exposes you to counterparty risk. Today, it is possible to swap crypto instantly while keeping your private keys on your hardware wallet at all times.
This guide will walk you through everything you need to know: why swapping directly from Ledger and Trezor matters, the benefits and risks, and a practical, step-by-step walkthrough of how to do it safely.
Why Swapping Directly From a Hardware Wallet Matters
When you swap from hardware wallet Ledger Trezor, you are combining two powerful concepts: cold storage security and non-custodial trading. This matters for several reasons.
1. Security of Your Private Keys
Ledger and Trezor devices are designed so that your private keys never leave the device. When you connect to a wallet interface or swap service, what you are really doing is:
- Viewing your addresses and balances in a user interface
- Signing transactions on the hardware wallet itself
- Broadcasting those signed transactions to the blockchain
If you use central exchanges to swap, you must send your coins to an address controlled by the exchange. At that point, you no longer control the private keys and must trust the platform to custody your funds correctly.
2. Reduced Counterparty and Platform Risk
Using a centralized exchange always introduces counterparty risk: hacks, insolvency, withdrawal freezes, or sudden KYC policy changes. By using a non-custodial swap model, you remove or substantially reduce this risk, because you are not depositing your coins into an account controlled by a third party.
3. Simpler Portfolio Management
Being able to swap directly from your hardware wallet allows you to:
- Rebalance your holdings quickly, without juggling multiple platforms
- Avoid maintaining separate “trading accounts” on custodial exchanges
- Keep a clean, auditable record of transactions tied to your own addresses
In short, you maintain the advantages of cold storage while gaining flexible trading options.
Key Benefits When You Swap From Hardware Wallet Ledger Trezor
Let’s break down the main advantages you get when you perform swaps directly from your Ledger or Trezor.
1. Maximum Control Over Your Funds
At all times, you:
- Control your private keys on the hardware device
- Approve or reject each transaction by physically confirming on the device
- Decide which non-custodial service or DEX to use for the swap
This structure makes unauthorized transfers much more difficult, because an attacker would need both your seed and physical access to your device.
2. Non-Custodial, Private Trading
When you use a private exchange with a non-custodial swap flow, you avoid creating accounts and leaving large balances on external platforms. This can help you:
- Reduce the personal data you share with third parties
- Avoid leaving “honeypots” of assets on centralized platforms
- Keep your trading activity more directly tied to your own self-custodied wallets
3. Potentially Lower Friction and Faster Execution
Because you skip the deposit and withdrawal steps, the actual trade flow contains fewer stages:
- Connect your hardware wallet to a compatible interface
- Specify which asset you want to send and which asset you want to receive
- Confirm and sign the swap transaction on your device
- Receive the output asset directly to your hardware wallet address
This can be faster than moving through deposit confirmations, internal exchange transfers, and later withdrawal queues.
4. Better Long-Term Security Habits
Building the habit of never sending large balances to custodial platforms helps reduce your overall risk exposure over time. Your hardware wallet becomes your long-term vault and active trading hub, rather than just passive storage.
Risks and Drawbacks to Be Aware Of
Swapping directly from your hardware wallet is powerful, but it is not risk-free. Understanding the trade offs helps you make informed decisions.
1. Smart Contract and Protocol Risk
If your swap relies on smart contracts (for example, using a DEX or cross-chain bridge), there is always a possibility of bugs or vulnerabilities in the contract code, or in the protocols that route your swap.
Mitigation strategies include:
- Favoring well-audited, widely used protocols
- Testing the process first with a very small amount
- Avoiding complex cross-chain routes you do not fully understand
2. Slippage, Fees, and Price Impact
Non-custodial swaps are subject to on-chain conditions:
- Network fees can spike during heavy congestion
- Slippage may occur if liquidity is low for your trading pair
- Price impact can be significant for large swaps in shallow pools
Always review the quoted rate, expected output, and fees before confirming.
3. Fake Interfaces and Phishing Risks
The biggest real-world threat is usually not the hardware wallet itself, but malicious interfaces that ask you to sign unsafe transactions. Common attack vectors include:
- Imposter websites with URLs that closely mimic trusted services
- Browser extensions or wallet connectors that inject malicious prompts
- Fake “support” links shared in social media or search ads
Always verify URLs, use bookmarks, and never import your seed phrase into a browser or app.
4. User Error
Because these systems are non-custodial, mistakes can be permanent. Typical errors include:
- Sending coins to the wrong address
- Using the wrong network (for example, sending to a BEP20 address when you intended ERC20)
- Misunderstanding token standards or network fees
Double check all details before signing on your Ledger or Trezor.
Step-by-Step Guide: How to Swap From Hardware Wallet Ledger Trezor
Below is a general workflow you can adapt. Exact screens will vary between Ledger, Trezor, and the specific swap interface or DEX aggregator you use.
Step 1: Prepare Your Hardware Wallet
- Make sure your Ledger Live or Trezor Suite firmware is up to date.
- Install or update the relevant apps on your device (for example, Ethereum, Bitcoin, or other chains you want to use).
- Confirm that you can see your balances in your preferred interface.
Keep your recovery seed phrase stored safely offline. You should never type it on your computer during this process.
Step 2: Choose a Non-Custodial Swap Interface
You can interact with decentralized exchanges, aggregators, or specialized swap services that support wallet connections. When comparing options, consider:
- Support for Ledger and Trezor via USB or WebUSB/WebHID
- Liquidity depth for your desired trading pairs
- Transparent fee and rate display
- Reputation and security history
Study any “how to exchange” or documentation pages offered by the service so you understand exactly how your funds flow during the transaction.
Step 3: Connect Your Ledger or Trezor
On a typical interface, the flow looks like this:
- Open your hardware wallet interface (Ledger Live, Trezor Suite, or a supported browser wallet connector).
- Navigate to the DEX or swap service and click “Connect Wallet”.
- Choose Ledger or Trezor from the list of options.
- Approve the connection on your device if prompted.
The DApp should be able to read your public addresses and balances, but it should never request your seed phrase or PIN.
Step 4: Set Up the Swap
Now you specify the From and To assets and review all details:
- Select the coin or token you want to swap out of (for example, ETH on Ethereum mainnet).
- Select the asset you want to receive (for example, USDC).
- Choose the amount, being mindful of leaving enough native token for gas fees.
- Verify the network, especially when dealing with wrapped assets or sidechains.
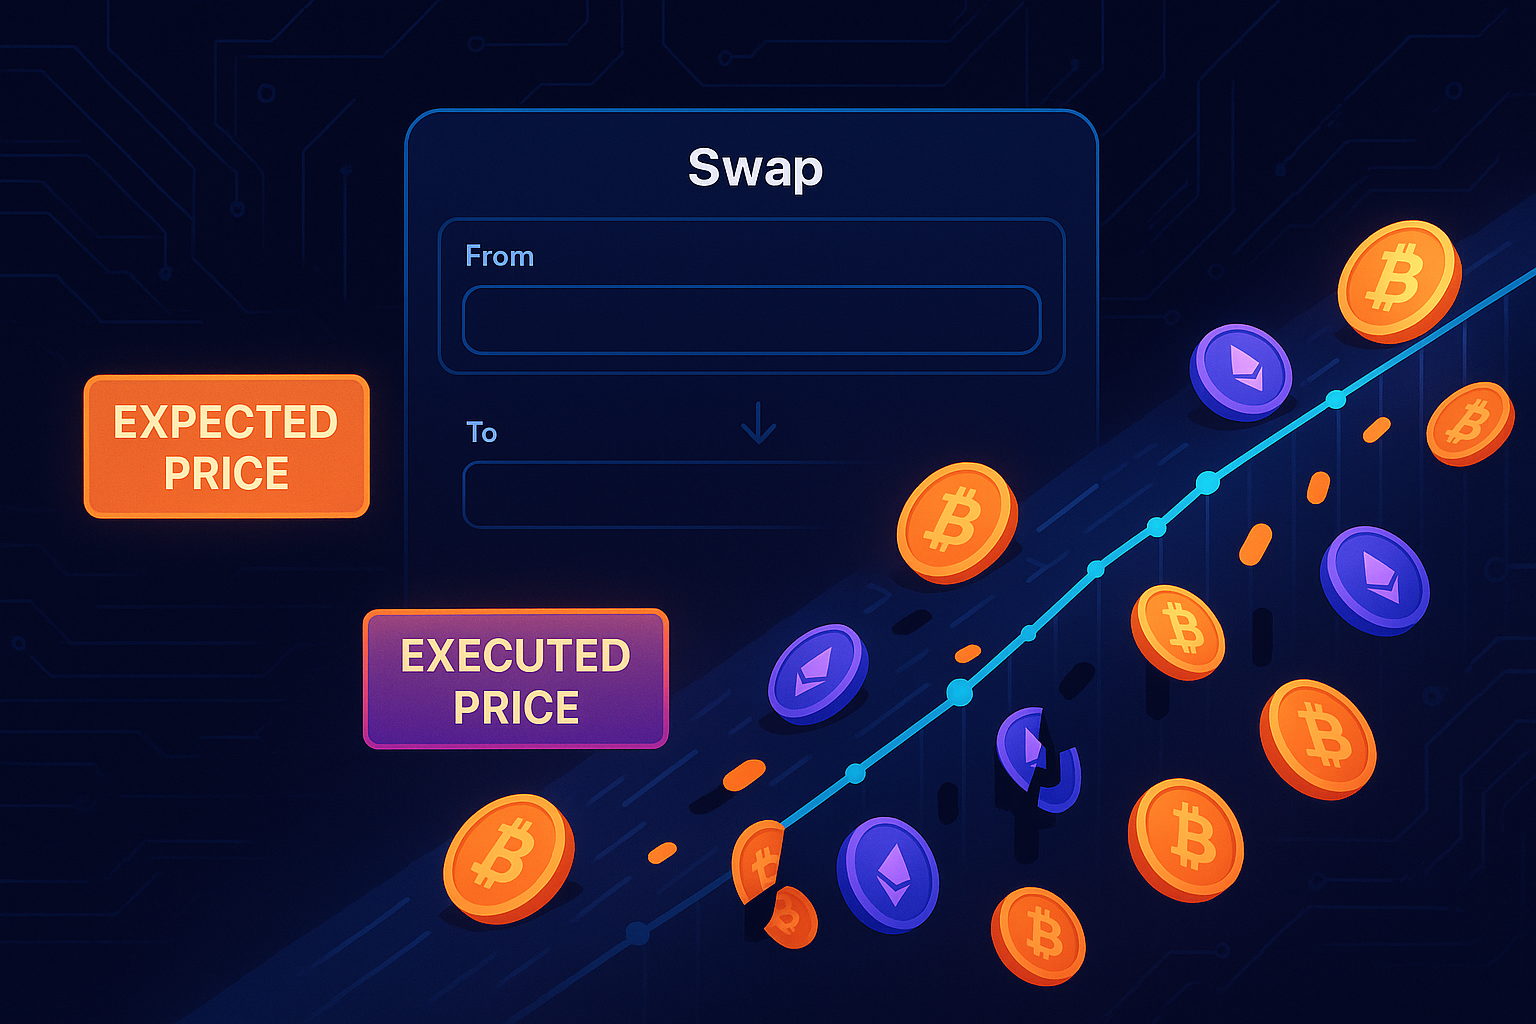
The interface should show you:

- The expected output amount
- Estimated fees and gas cost
- Slippage tolerance or any cross-chain routing details
Step 5: Approve Tokens (If Needed)
For ERC20 or similar tokens, you may need to sign an “Approve” transaction that allows the swap contract to spend your tokens. This is a separate step from the actual swap.
On your hardware wallet, you will:
- See an “Approve” or “Allow” transaction request
- Review the contract details as best you can
- Confirm or reject the approval on the device
If possible, keep allowances limited to exactly what you need for the swap and revoke large, unused approvals later using a reputable token allowance manager.
Step 6: Confirm and Sign the Swap Transaction
Once everything looks correct, initiate the actual swap:
- Click “Swap”, “Exchange”, or similar in the interface.
- Your Ledger or Trezor will display transaction details such as amount, destination, and estimated fees.
- Carefully review these details on the device screen.
- Physically confirm the transaction if everything is correct.
After you sign, the transaction is broadcast to the network for inclusion in a block.
Step 7: Wait for Confirmation and Verify Receipt
Depending on network load, your swap may complete within seconds or several minutes. Once confirmed:
- Check your hardware wallet interface to confirm that the output asset balance has updated.
- Optionally, view the transaction on a block explorer to verify the details.
- Save the transaction hash if you may need to reference it later.
You have now completed a swap from your hardware wallet, without giving up custody of your private keys.
Practical Tips to Stay Safe While Swapping
1. Always Test With a Small Amount First
If it is your first time using a particular swap route or DApp, start with a small, non-critical amount of crypto. This helps you:
- Confirm that your Ledger or Trezor connection works correctly
- Verify that the output asset arrives on the expected network
- Check that the fees and slippage are acceptable
2. Use Bookmarks and Double Check URLs
Phishing is one of the most common threats. To reduce the risk:
- Bookmark the official URL of any swap service you use regularly
- Avoid clicking swap links from unsolicited DMs or comments
- Verify SSL certificates and the domain spelling in your browser bar
3. Keep Your Firmware and Software Updated
Updates often include important security fixes and improved support for newer token standards or chains. For both Ledger and Trezor:
- Regularly check for firmware updates
- Update desktop or browser companion apps
- Read change logs when possible, especially for security-related patches
4. Understand the Fee Structure
Before swapping:
- Identify the network fee (gas) you will pay
- Review any service or aggregator fee the interface charges
- Assess whether the quoted rate is competitive versus alternatives
This helps you avoid overpaying for the convenience of a single-click swap.
5. Track and Manage Token Approvals
Check periodically which smart contracts have permission to spend your tokens. You can use trusted approval management tools to:
- List all active allowances by token and contract
- Revoke large or old approvals that you no longer need
- Limit risk if a protocol you used in the past becomes compromised
6. Stay Within Your Own Risk Tolerance
Non-custodial swaps from hardware wallets are powerful, but you should only use methods and protocols that you understand. If a particular bridge or cross-chain route seems overly complex, consider simpler alternatives, even if it costs slightly more or takes a bit longer.
Conclusion
Learning how to swap from hardware wallet Ledger Trezor is a key step toward fully sovereign crypto management. By combining the cold storage security of a hardware wallet with non-custodial swap tools, you can trade and rebalance without surrendering your private keys or depending heavily on centralized exchanges.
The core principles are straightforward: keep control of your keys, verify every transaction on your device, favor reputable non-custodial services, and start with small test amounts. When done correctly, this approach gives you a strong balance between convenience and security.
If you are ready to put this into practice, explore a trusted, non-custodial swap from hardware wallet Ledger Trezor flow, follow the provider’s documentation carefully, and gradually scale up as your confidence grows. The more you practice secure, self-custodied swaps, the more resilient your overall crypto strategy becomes.