How to Swap Crypto Without Verification: A Complete Guide to Fast, Private Exchanges
Introduction
Swapping one cryptocurrency for another has become a daily routine for many traders, investors, and DeFi users. But not everyone wants to complete lengthy KYC checks, upload ID documents, or wait hours for approval just to exchange tokens. That is why more people are searching for ways to swap crypto without verification in a way that is fast, private, and still secure.
Today, it is possible to exchange tokens directly from your wallet using non-custodial services that do not require a traditional account. Platforms like non-custodial swap tools that let you trade without KYC make it easy to move between assets like BTC, ETH, stablecoins, and popular altcoins in a few clicks.
In this guide, you will learn how no-verification swaps work, why they matter for privacy-conscious users, what risks to watch out for, and a simple step-by-step process to safely swap crypto without KYC from anywhere in the world.
Why Swapping Crypto Without Verification Matters
1. Privacy and data protection
Traditional centralized exchanges usually require Know Your Customer (KYC) checks. That means:
- Uploading government-issued ID
- Sharing selfies or video verification
- Providing personal data such as address or phone number
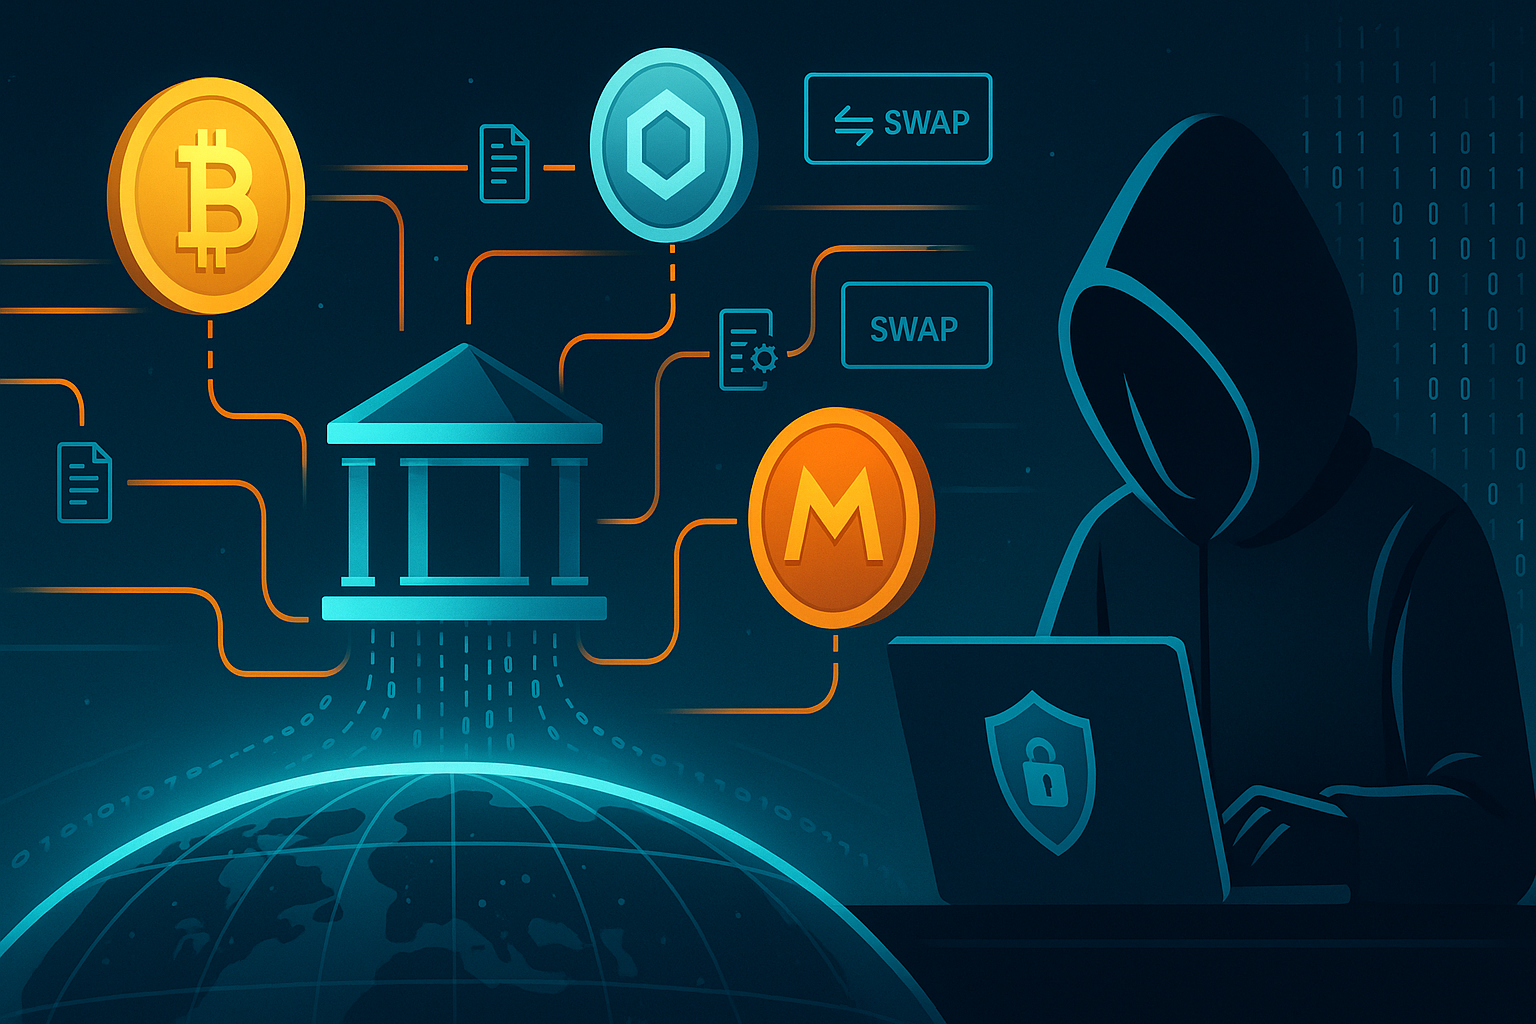
For many users, this is a serious privacy concern. Centralized databases become attractive targets for hackers, and data leaks happen regularly in the financial industry. Choosing to swap crypto without verification helps reduce how much personal information is stored and shared across third-party services.
2. Accessibility across borders
KYC requirements often exclude people who:
- Do not have a government-issued ID that meets the platform’s criteria
- Live in regions restricted by certain exchanges
- Face bureaucratic or political limitations when opening accounts
No-verification swaps open the door for these users to participate in the crypto economy with just a wallet and an internet connection.
3. Speed and convenience
Account creation and verification on a centralized exchange can take:
- Several minutes for simple checks
- Up to days when manual review is needed
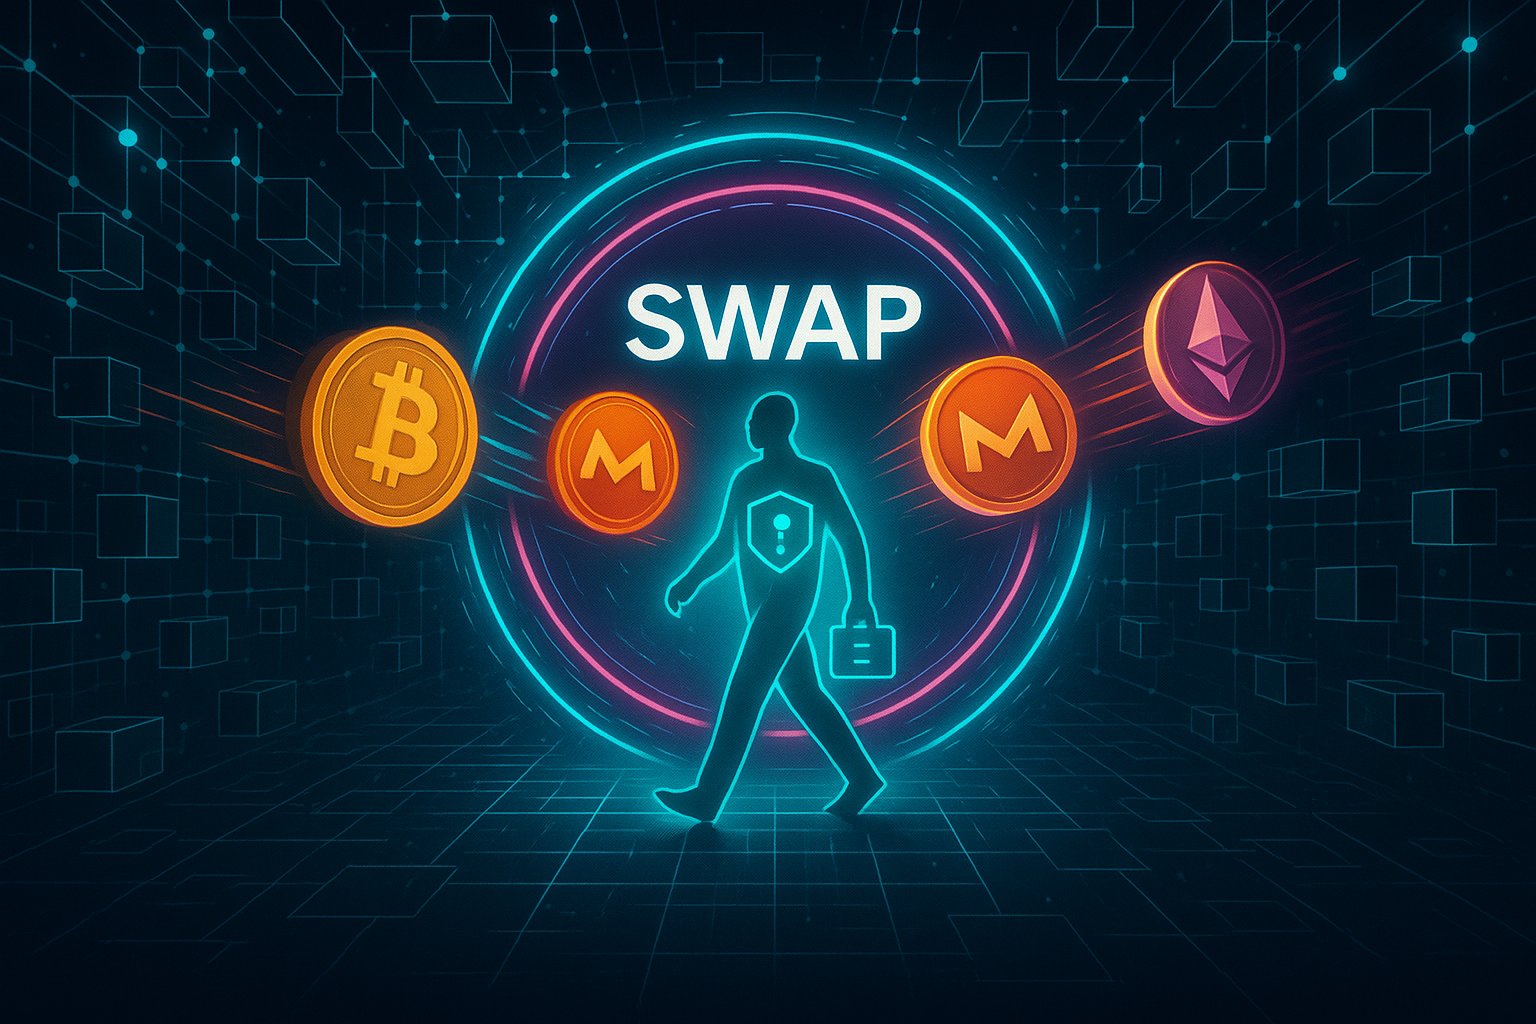
In volatile markets, waiting that long can mean missing an opportunity. By using a private exchange that lets you swap crypto instantly, you only connect your wallet, choose tokens, confirm the transaction, and you are done. No tickets, no waiting room.
The Benefits of Swapping Crypto Without Verification
1. Non-custodial control of your assets
Most KYC-heavy platforms are custodial. They hold your funds on their addresses and grant you access through an internal account. With non-custodial services, you:
- Connect your own wallet (like MetaMask, hardware wallets, or mobile wallets)
- Retain control of your private keys at all times
- Authorize each transaction directly from your wallet
This reduces counterparty risk and aligns better with the original “not your keys, not your coins” principle.
2. No account lockouts or frozen funds (under normal conditions)
Custodial exchanges can freeze funds due to:
- Compliance reviews
- Technical issues
- Account disputes
While non-custodial swap services are not perfect, they typically cannot freeze your entire wallet because they never hold your keys. They only facilitate a single swap transaction at a time.
3. Lower friction for small or frequent trades
If you:
- Regularly rebalance your portfolio
- Swap stablecoins across chains
- Move in and out of memecoins or new DeFi tokens
then constantly dealing with login codes, captchas, and security questions is unnecessary overhead. A streamlined, no-login, no-KYC swap flow can significantly speed up your routine.
4. Global participation with minimal onboarding
All you typically need is:
- A supported wallet
- Some crypto to trade plus gas fees
- Access to a browser or dApp interface
This makes swap services a natural fit for users in emerging markets or people who primarily use decentralized finance instead of traditional banking.
Key Risks and Drawbacks of No-Verification Crypto Swaps
Swapping crypto without KYC is not risk-free. Understanding the downsides helps you use these tools responsibly.
1. Regulatory and legal considerations
Depending on your country, regulators may:
- Restrict access to certain tokens
- Require reporting of gains or holdings for tax purposes
- Treat some privacy practices as higher-risk activity
Using a service that does not perform identity verification does not remove your legal responsibilities. You are still responsible for complying with local laws and tax rules.
2. Counterparty and smart contract risk
Even if a swap is non-custodial, there are still risks:
- Smart contract bugs: If the protocol’s contract has a flaw, funds can be lost.
- Rogue or malicious services: Some sites impersonate legitimate platforms to steal funds.
- Liquidity and slippage: Poorly designed routes can lead to bad prices or failed transactions.
Always research the platform’s reputation, check audits when available, and start with small test swaps.
3. Irreversible transactions
Crypto transactions are final. Mistakes like:
- Sending to the wrong address
- Selecting the wrong network
- Approving a malicious contract
are often irreversible. Without a support team that can manually intervene (as some centralized exchanges can), you must take extra care when confirming each step.
4. Potential lack of recourse in disputes
No-verification usually implies:
- No traditional account ownership
- Minimal user data stored by the provider
- More automated processes, fewer manual reviews
If something goes wrong, support may be limited to on-chain proofs and public communication channels like email, Discord, or Telegram. Good platforms will still try to help, but expectations should be realistic.
How to Swap Crypto Without Verification: Step-by-Step
Below is a generic workflow that applies to many non-custodial, no-KYC swap services. The exact interface may differ, but the core idea is similar.
Step 1: Choose a trusted non-custodial platform
Look for platforms that:
- Do not require account registration or ID upload
- Connect directly to wallets like MetaMask, WalletConnect, etc.
- Have transparent documentation and an active community
- Provide clear information about fees and supported assets
For example, a service like GhostSwap’s private exchange interface lets you connect a wallet and perform non-custodial swaps without the typical centralized sign-up process.
Step 2: Prepare and secure your wallet
Before swapping:
- Use a reputable wallet (MetaMask, hardware wallet, or a well-reviewed mobile wallet).
- Back up your seed phrase securely and offline.
- Ensure your wallet is on the correct network (e.g., Ethereum, BNB Chain, Arbitrum, etc.).
- Keep enough native token (ETH, BNB, etc.) to pay gas fees.
If you are handling larger amounts, consider a hardware wallet for better security.
Step 3: Connect your wallet to the swap interface
On the chosen platform:
- Click “Connect Wallet” or similar.
- Select your wallet type (e.g., MetaMask, WalletConnect, Coinbase Wallet).
- Approve the connection in your wallet.
This allows the dApp to read your public wallet addresses and token balances but does not grant control over your private keys.
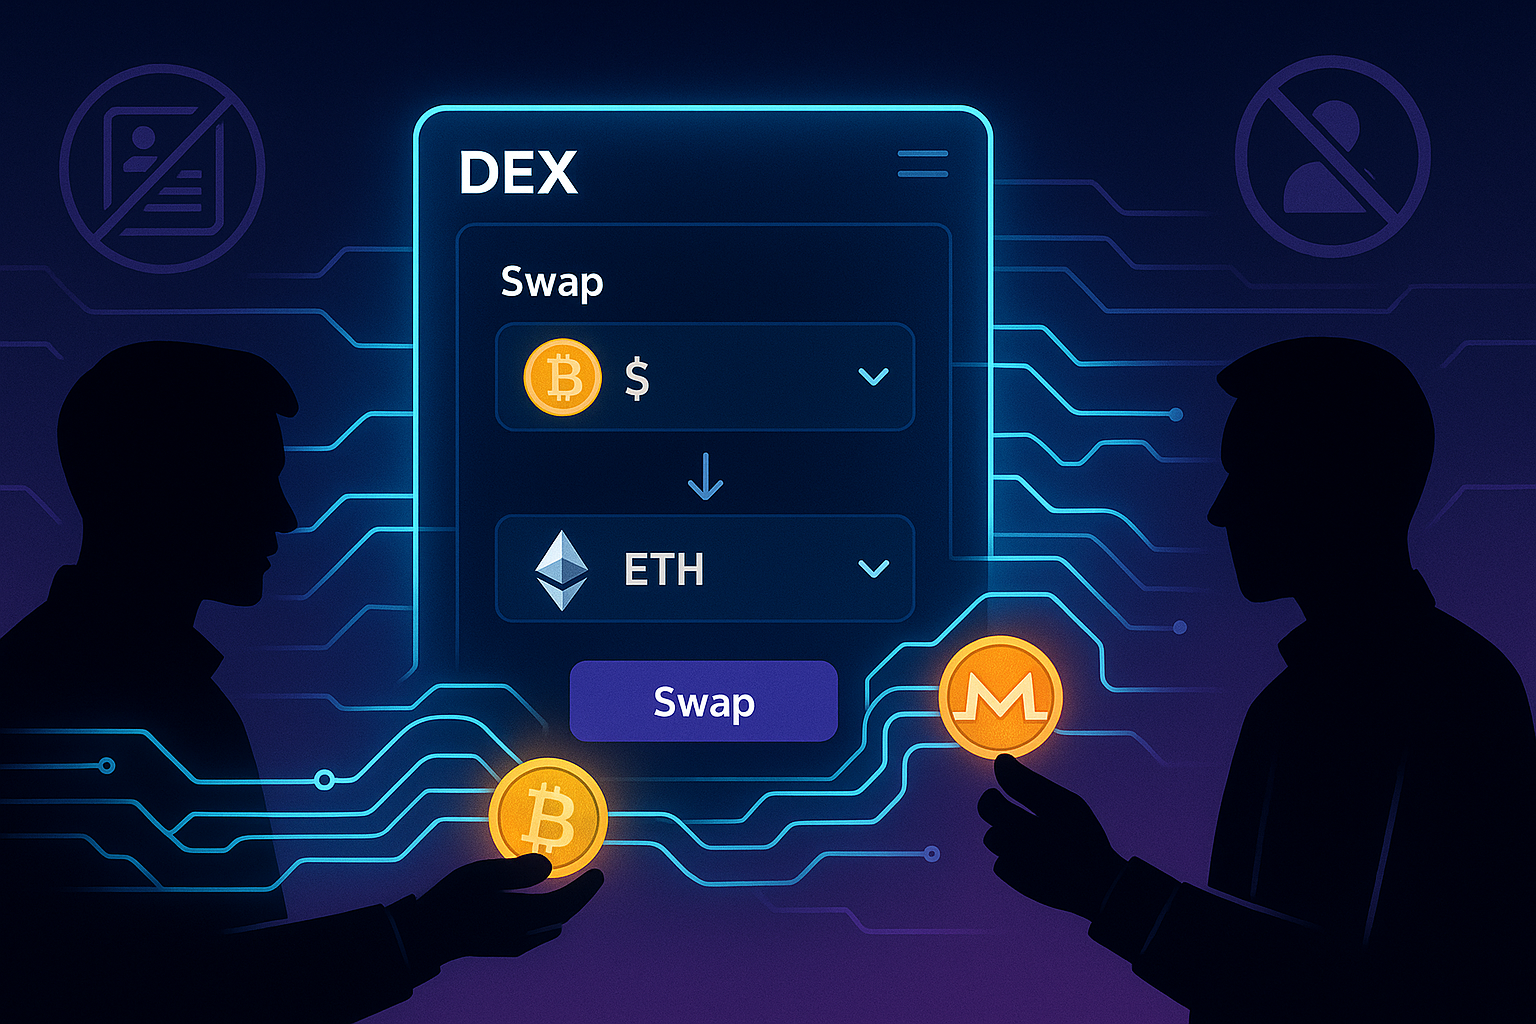
Step 4: Select the tokens you want to swap
Next:
- Choose the token you want to swap from (e.g., USDC).
- Choose the token you want to swap to (e.g., ETH).
- Enter the amount or use “max” if appropriate.
At this point, the platform usually shows:
- Estimated amount you will receive
- Network fees and any service fee
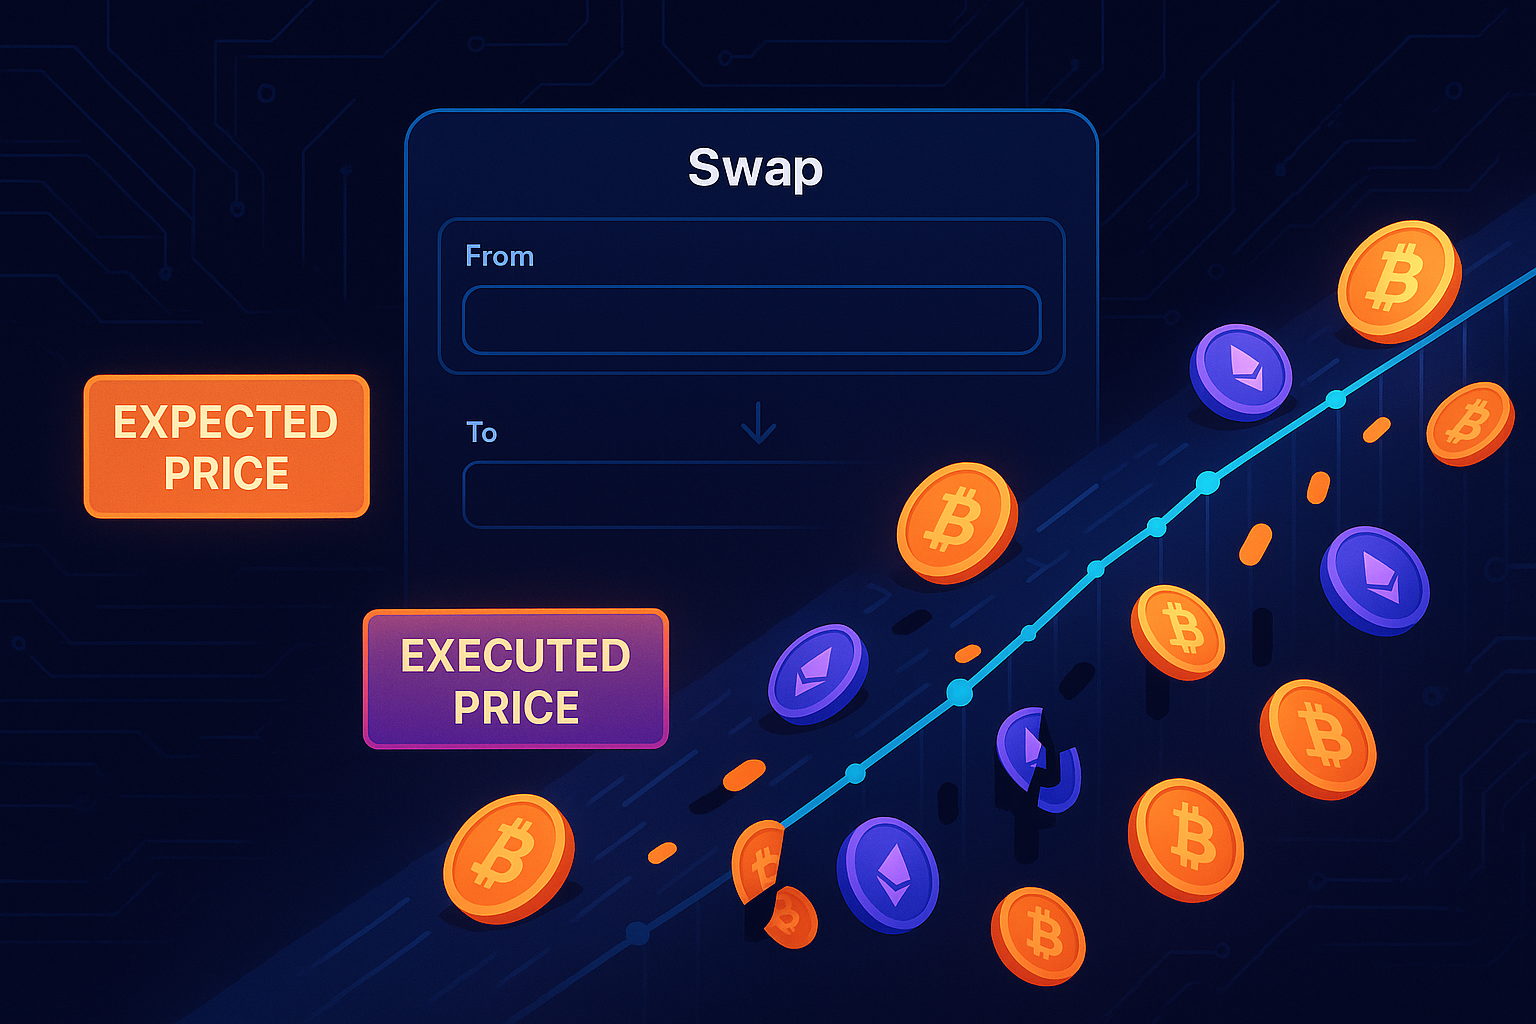
- Expected price impact and slippage tolerance
Step 5: Review price, slippage, and route
Before you confirm:
- Check the exchange rate against a well-known reference (e.g., CoinGecko or CoinMarketCap).
- Ensure slippage is reasonable for the token’s liquidity.
- Confirm the output token and network are correct.
If something looks off, adjust the amount or slippage tolerance, or wait for better conditions.
Step 6: Approve the token (if required)
For ERC-20 and similar tokens, the protocol needs permission to spend them on your behalf:
- Click “Approve” (or similar) for the token you are swapping from.
- Confirm the approval transaction in your wallet.
- Wait for confirmation on the blockchain.
You only need to approve once per token per contract, unless you later revoke or limit the approval.
Step 7: Confirm the swap transaction
After approval:
- Click “Swap” or “Confirm swap.”
- Review gas fees and total cost in your wallet’s confirmation window.
- Confirm the transaction.
When the transaction is mined, the new tokens should appear in your wallet, sometimes after manually adding the token’s contract address.
Step 8: Verify receipt of funds
To be sure everything went smoothly:
- Check your wallet balance for the new token.
- Open a block explorer (like Etherscan) to view the transaction details.
- Confirm that the “to” contract, token amounts, and statuses match your expectations.
If something went wrong, use the transaction hash when contacting the platform’s support or community for help.
Practical Tips for Safe, No-KYC Crypto Swaps
1. Start small, then scale up
When testing a new platform or chain:
- Do a small test transaction first.
- Confirm that everything works as expected.
- Only then increase the swap size.
This approach limits potential losses from user errors or unexpected behavior.
2. Double-check URLs and avoid phishing
Always verify you are using the correct website:
- Bookmark the official domain of your preferred swap platform.
- Be cautious of ads or search results that look similar but differ in spelling.
- Check for HTTPS and verify links from official social channels or documentation.
Phishing sites are common in crypto and can drain your wallet if you sign malicious transactions.
3. Manage token approvals
Token approvals can grant wide spending permissions to smart contracts. To stay safe:
- Periodically review token approvals using tools like Etherscan’s token approval checker or similar services on other chains.
- Revoke unnecessary or outdated approvals, especially for high-value tokens.
- Consider setting lower approval limits instead of “unlimited” where possible.
4. Monitor gas fees and network congestion
Network costs can heavily influence your final swap cost:
- Use gas trackers to find cheaper times of day.
- Consider layer 2 networks (Arbitrum, Optimism, etc.) or cheaper chains if appropriate.
- Avoid sending urgent high-value transactions during major network congestion or events.
5. Keep your environment secure
Your security is only as strong as your device and habits:
- Use updated operating systems and browsers.
- Avoid installing untrusted browser extensions.
- Store seed phrases offline, never in cloud documents or screenshots.
- Use a hardware wallet when dealing with significant amounts of crypto.
6. Understand fee structures
When you swap crypto without verification, fees usually include:
- Network gas fees
- Liquidity provider or routing fees
- Platform service fee, if applicable
Transparent platforms will clearly show what you are paying, so always review this information carefully before approving the transaction.
Conclusion: Fast, Private Swaps Are Possible, But Use Them Wisely
You do not have to create an account or upload your ID to participate in crypto trading. With the right tools, you can swap crypto without verification directly from your own wallet, maintaining control over your keys while benefiting from fast, frictionless exchanges.
The key points to remember are:
- Choose a reputable, audited, and well-supported non-custodial platform.
- Always protect your wallet, seed phrase, and device security.
- Respect local regulations and tax obligations even when no KYC is required.
- Start small, verify everything, and scale up only after you are comfortable.
If you are ready to try a no-KYC workflow, consider exploring a service like swap crypto without verification using a non-custodial interface to see how streamlined and private the experience can be. Used carefully, these tools offer a powerful way to stay in control of your assets while moving between tokens quickly and efficiently.