reth to eth swap: Complete Guide to Converting Your Rocket Pool rETH Back to ETH
Introduction
Rocket Pool’s rETH is one of the most popular liquid staking tokens in the Ethereum ecosystem. It represents staked ETH plus accrued staking rewards, and it can be used across DeFi while your underlying ETH continues to earn yield. At some point, however, many users want to convert rETH back to native ETH. That is where a secure, efficient reth to eth swap becomes essential.
Whether you need ETH for gas, DeFi strategies, OTC deals or simply to exit your staked position, knowing how to move from rETH to ETH safely can save you time, money and a lot of headaches. You can do this via on-chain DEXs, aggregators, or through a non-custodial reth to eth swap interface that focuses on privacy and simplicity.
This guide walks through what rETH is, why the conversion matters, how the pricing works, the main risks and a practical step-by-step process. It is written for users who already hold rETH but still want a clear, SEO-friendly roadmap to swapping back to ETH efficiently and with minimal surprises.
Why rETH to ETH Swaps Matter
To understand why the reth to eth swap is such a common operation, it helps to remember what rETH represents:
- rETH is a tokenized claim on staked ETH plus rewards in Rocket Pool.
- Its value floats against ETH, usually trading at a slight premium because it includes earned staking yield.
- It is ERC 20 compatible, so it can be transferred and used across DeFi like a regular token.
At some point, though, users often need raw ETH again. Typical reasons include:
- Paying for on-chain gas in ETH
- Entering DeFi protocols or liquidity pools that require plain ETH, not rETH
- Exiting a staking strategy to take profits into ETH
- Rebalancing a portfolio between staked assets and liquid ETH
- Preparing to bridge to another chain or centralized exchange that does not support rETH
Because rETH carries yield, its conversion back to ETH typically involves price considerations, slippage, on-chain liquidity and sometimes privacy concerns. That is why choosing the right method for your rETH to ETH conversion is so important.
Understanding rETH vs ETH
What rETH Actually Represents
Rocket Pool is a decentralized Ethereum staking protocol. Users deposit ETH, which gets staked via node operators, and receive rETH in return. Over time, as staking rewards are earned and fees are applied, the rETH contract tracks an increasing exchange rate vs ETH.
Key points:
- rETH price in ETH grows over time as rewards accumulate.
- 1 rETH is typically worth more than 1 ETH, reflecting the underlying staked ETH plus yield.
- You do not get “more rETH” in your wallet. Instead, each rETH becomes redeemable for more ETH.
Why rETH Does Not Always Equal 1 ETH
The rETH to ETH rate is based on the underlying protocol state, not a fixed 1:1 peg. While the protocol defines the “canonical” rate via its internal accounting, market prices on DEXs and aggregators can deviate slightly depending on liquidity and trading activity.
So when you perform a reth to eth swap, you are essentially doing one of two things:
- Market swap on a DEX or aggregator, where you trade rETH for ETH at current market rates plus slippage.
- Protocol-level redemption or exit, which typically aligns closer to Rocket Pool’s internal exchange rate, but can be slower or more complex depending on the mechanism used.
Benefits of Swapping rETH to ETH
A well executed swap from rETH to ETH offers several advantages, especially if you choose tools designed for low slippage and privacy.
1. Liquidity and Spendability
Plain ETH remains the base currency of the Ethereum ecosystem. By swapping rETH to ETH, you gain:
- Universal compatibility across DeFi, NFT marketplaces and bridges
- Gas-ready funds for interacting with smart contracts
- Easier CEX deposits for exchanges that do not yet list rETH
2. Realizing Staking Yield
Over time, the rETH/ETH exchange rate rises as staking rewards are added. When you perform a reth to eth swap:
- You are effectively realizing the accumulated yield that rETH represents.
- You can then use or reallocate that yield denominated in ETH.
- This can be useful for rebalancing or taking profits in a clear, ETH denominated way.
3. Flexibility for Strategy Changes
Markets and yields change. Maybe you want to switch to another liquid staking token, participate in a new DeFi farm, or simply rotate to stablecoins. Converting rETH to ETH gives you the base layer asset you need to pivot quickly.
4. Privacy and Custody Control
If you use a private exchange for instant, non-custodial swap crypto between rETH and ETH, you retain control of your keys and reduce the data shared with centralized entities. This can be an important benefit for users who are sensitive to address clustering or account level tracking.

Risks and Drawbacks of rETH to ETH Swaps
Every on-chain action carries tradeoffs. Before converting rETH to ETH, consider the following risks.
1. Price Slippage and Market Impact
On DEXs, especially in lower liquidity pools, large rETH trades can move the price:
- Slippage is the difference between the expected and actual execution price.
- Market impact is more severe for large orders traded against shallow liquidity.
- Poorly optimized swaps can cost you significantly compared to the “fair” rETH/ETH rate.
2. Gas Fees
Ethereum mainnet can be expensive during peak demand. Swapping rETH to ETH may involve:
- Approval transaction for rETH
- Swap transaction itself
- Potentially extra steps if using aggregators or complex routing
High gas costs can eat into your yield, especially for smaller balances.
3. Smart Contract and Counterparty Risk
Although rETH and most major DEX infrastructures are battle tested, risk never goes to zero:
- Smart contract vulnerabilities in DEXs or aggregators
- Routing through protocols with weaker security histories
- Centralized intermediaries if you choose a custodial service
Using a non-custodial swap service minimizes custody risk but does not eliminate contract risk entirely.
4. Opportunity Cost
Swapping from rETH to ETH means you are exiting an asset that accrues staking yield. Once in ETH, you are:
- No longer benefiting from the automatic yield baked into rETH
- Exposed purely to ETH price movements without staking rewards
- Potentially missing future rETH integrations or incentives
Make sure your reason for converting back to ETH justifies this opportunity cost.
Step by Step Guide: How to Perform a reth to eth Swap
Below is a general workflow for converting rETH to ETH in a way that balances efficiency, security and user control. Exact steps will vary by platform, but the principles hold across most non-custodial solutions.
Step 1: Prepare Your Wallet
- Use a compatible wallet such as MetaMask, Rabby, Frame or a hardware wallet interface like Ledger Live plus MetaMask.
- Ensure you are on the correct network. rETH is most commonly used on Ethereum mainnet.
- Verify your rETH balance in the wallet and confirm it matches your expectations.
- Keep a small amount of ETH in the wallet to pay for gas. Do this before starting the swap.
Step 2: Choose a Swap Platform
You have several options for a reth to eth swap:
- DEXs like Uniswap or Balancer, where rETH has established liquidity pools.
- DEX aggregators that search for the best route across multiple pools.
- Non-custodial instant swap interfaces that focus on privacy and simplicity.
If privacy and direct wallet control are priorities, you might prefer a non-custodial reth to eth swap interface with instant execution rather than a centralized exchange.
Step 3: Connect Your Wallet
- Open the swap or DEX interface in your browser.
- Click “Connect Wallet” or similar.
- Select your wallet provider (MetaMask, WalletConnect, etc.).
- Confirm the connection in your wallet pop up.
Always verify the URL and confirm you are on the legitimate homepage before authorizing any connection.
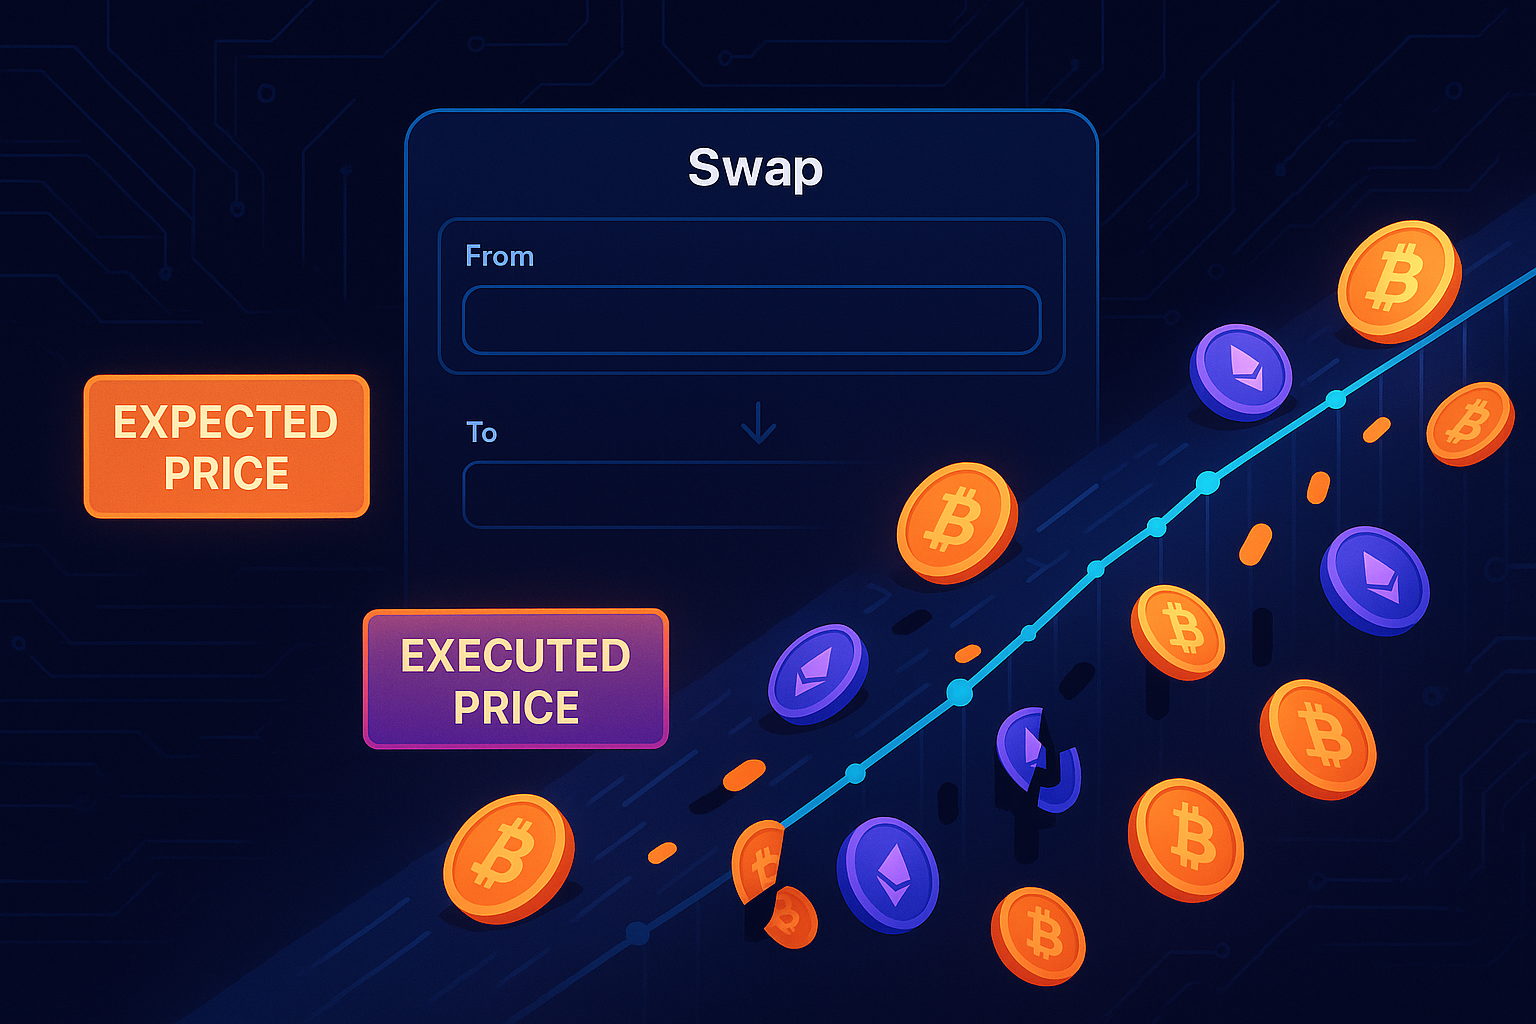
Step 4: Select rETH as the Token to Swap From
- In the “From” field, choose rETH.
- In the “To” field, choose ETH.
- If rETH does not appear by default, paste the official rETH contract address from a trusted source such as the Rocket Pool docs or Etherscan verified token page.
Be extremely cautious with contract addresses copied from unverified sources to avoid fake tokens.

Step 5: Enter the Amount and Review the Quote
- Type the amount of rETH you want to convert, or use “Max” if appropriate.
- Review key quote details:
- Expected ETH received
- Implied rETH/ETH exchange rate
- Slippage tolerance
- Estimated gas fee
- Compare the implied rate to:
- The on chain Rocket Pool exchange rate (if you know it), and
- Market prices on major DEXs or tracking sites.
If the rate looks significantly worse than other venues, consider splitting the trade, adjusting your timing or switching platforms.
Step 6: Approve rETH (If Required)
For ERC 20 tokens, the first interaction with a protocol usually requires an “approve” transaction:
- Click “Approve” if the interface prompts you.
- Choose a reasonable allowance. For better security, some users prefer approving only the amount they intend to swap, not an unlimited amount.
- Confirm the approval in your wallet and wait for the transaction to be mined.
Once approved, you can perform the actual swap.
Step 7: Execute the reth to eth Swap
- Click “Swap”, “Exchange” or the equivalent button.
- Double check:
- Input token: rETH
- Output token: ETH
- Amounts and minimum received
- Network: Ethereum mainnet (if that is where your rETH resides)
- Confirm the transaction in your wallet, choosing a gas fee that matches how fast you want confirmation.
- Wait for the transaction to be mined, then verify the updated ETH balance in your wallet.
Step 8: Record Keeping and Next Steps
After completing the swap, consider:
- Saving transaction hashes for potential tax or accounting requirements.
- Noting the effective execution rate and fees.
- Allocating the new ETH according to your strategy (trading, bridging, providing liquidity, etc.).
Practical Tips for Better reth to eth Swaps
1. Monitor the rETH/ETH Rate
Because rETH generally accrues value against ETH, timing can matter. Check:
- The Rocket Pool reported exchange rate.
- Market prices on DEXs.
- Any temporary premiums or discounts due to liquidity events.
If the market price is significantly below the projected protocol value, it may be worth waiting for a more favorable moment unless you need liquidity urgently.
2. Optimize for Gas
Gas can be a substantial cost, especially for smaller swaps:
- Try to transact during lower network congestion, often off peak hours.
- Use gas estimators to avoid overpaying.
- Batch actions where possible (for example, approvals for multiple tokens in a single session).
3. Use Slippage Controls
Most interfaces allow you to set a custom slippage tolerance. A balanced approach is crucial:
- Too low slippage may cause the transaction to fail in volatile markets.
- Too high slippage exposes you to poor execution if the market moves sharply.
- For larger trades, consider splitting them into smaller chunks to reduce impact.
4. Consider Privacy Implications
On chain activity is transparent and can be analyzed to link your addresses and behaviors. If you are concerned about address clustering or tracking:
- Avoid reusing addresses unnecessarily.
- Be careful when linking on chain addresses to centralized KYC accounts.
- Prefer non-custodial, privacy aware swap services where appropriate.
5. Verify Contracts and URLs
Phishing and fake tokens are persistent risks in crypto. To protect yourself:
- Bookmark official sites rather than clicking links from random social posts.
- Confirm the rETH contract address from Rocket Pool documentation or Etherscan’s verified info.
- Cross check if a new interface or aggregator is reputable before approving high allowances.
6. Start Small, Then Scale
If you are using a new platform for your reth to eth swap, start with a small amount first. Once you see the process, verify the rates and confirm the ETH arrives correctly, you can repeat the procedure with larger size.
Conclusion
Converting rETH to ETH is a fundamental task for anyone using Rocket Pool’s liquid staking token. A well planned reth to eth swap helps you unlock your staked value, access universal ETH liquidity and adjust strategies without losing unnecessary value to slippage, gas or poor execution.
By understanding how rETH’s underlying value works, reviewing risks like market slippage and gas costs, and following a deliberate step by step process, you can move between rETH and ETH with confidence. For many users, a privacy focused, non-custodial rETH to ETH exchange offers a good balance of convenience, control and security.
As with any on chain activity, take your time, verify every detail and start small when testing new tools. With those habits in place, swapping rETH back to ETH becomes just another efficient step in your broader Ethereum strategy.