
How to Make a FET to BTC Swap Safely and Efficiently
Introduction
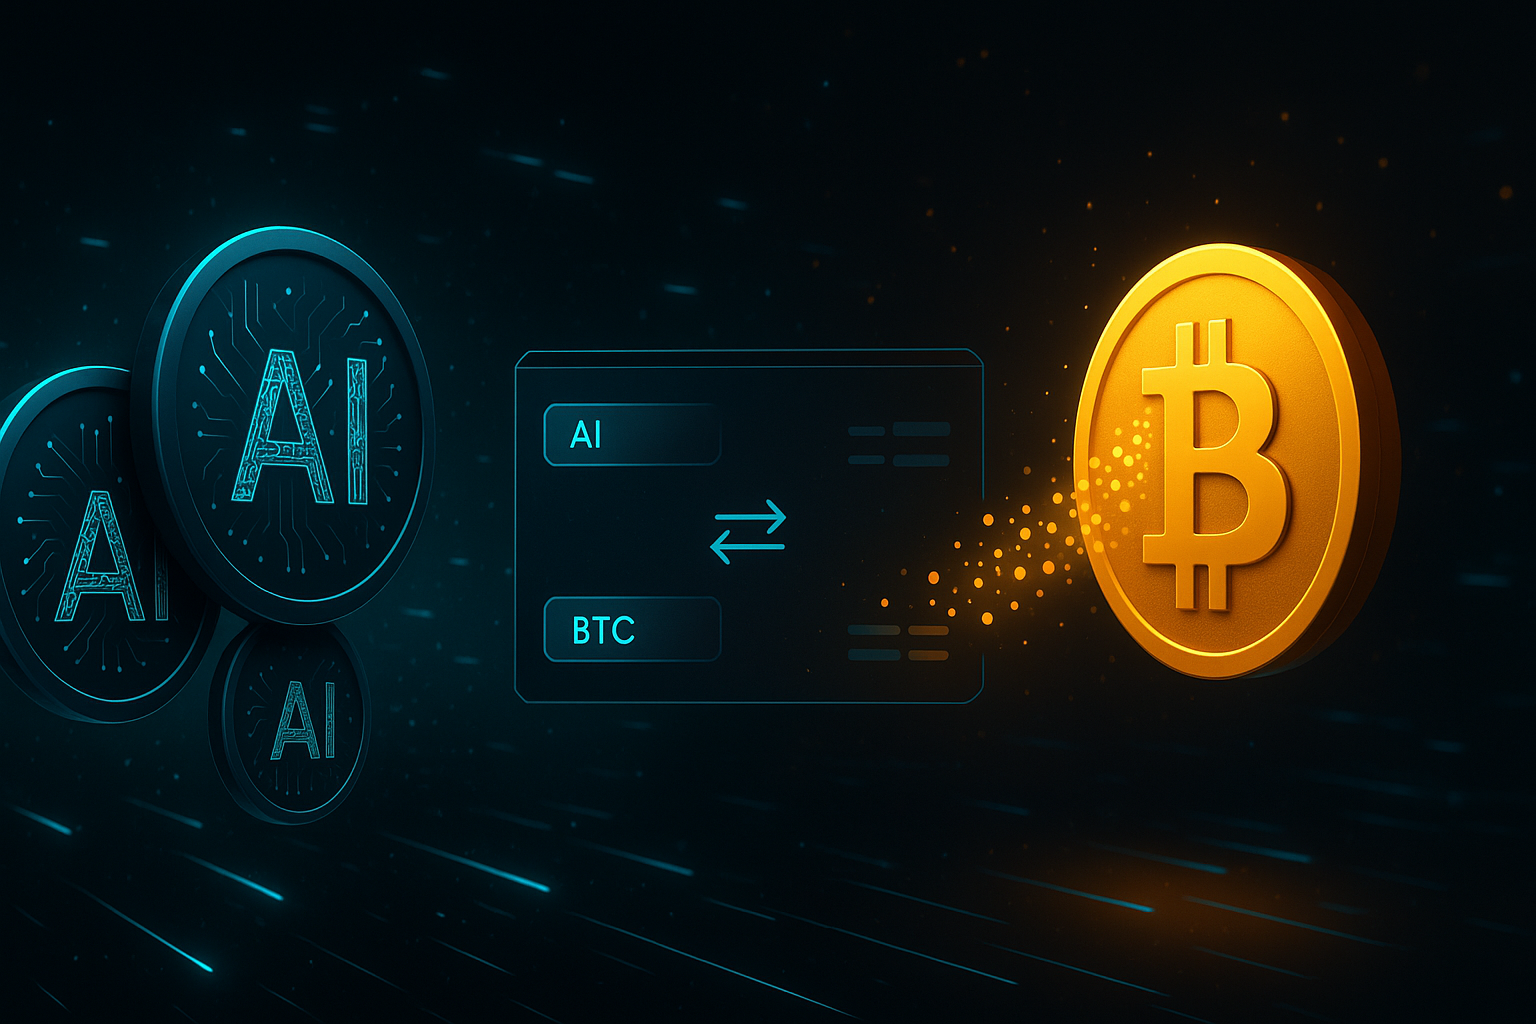
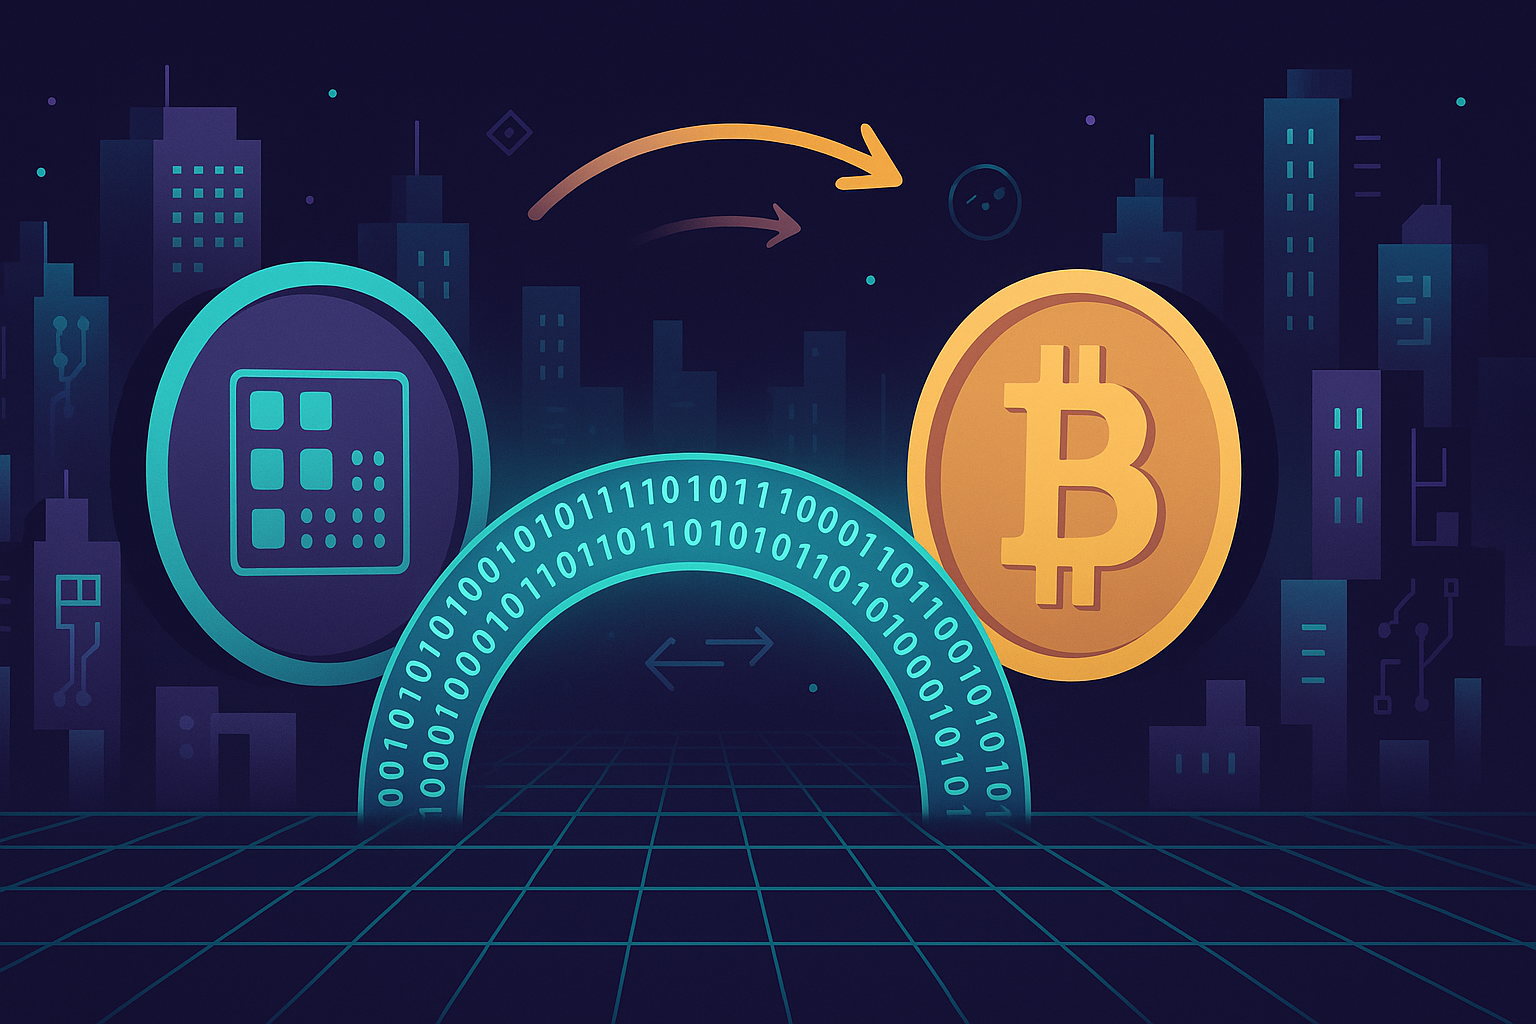
As AI and blockchain continue to merge, more traders are looking to convert Fetch.ai (FET) into Bitcoin (BTC). Whether you are taking profits, rebalancing your portfolio, or migrating into a more established asset, understanding how to execute a FET to BTC swap the right way can save you time, money, and stress.
Today, you no longer need to sign up with a centralized exchange, complete lengthy KYC checks, and wait for approvals just to trade one asset for another. With the growth of non-custodial swap services, you can swap crypto instantly from your own wallet, without giving up control of your private keys.
This guide explains what a FET to BTC swap is, why it matters, what benefits and risks to consider, and walks you through a practical, step-by-step process so you can trade confidently.
Why a FET to BTC Swap Matters
FET and BTC play very different roles in the crypto ecosystem:
- FET (Fetch.ai) is a token focused on AI agents, autonomous systems, and data economics.
- BTC (Bitcoin) is the original cryptocurrency, widely treated as a long-term store of value and macro hedge.
Being able to swap between these two quickly and privately matters for several reasons.
1. Portfolio management and risk adjustment
AI-focused tokens like FET are often more volatile than Bitcoin. If FET rallies strongly, you might want to lock in profits by converting a portion into BTC, which historically has lower volatility relative to smaller-cap tokens.
A fast, low-friction FET to BTC swap lets you:
- Secure gains from speculative AI narratives into a more established asset
- Rebalance your portfolio without cashing out to a bank account
- Adjust risk exposure in minutes instead of days
2. Access to broader crypto opportunities
BTC is one of the most liquid assets in the entire crypto market. By converting FET into Bitcoin you gain:
- Access to more trading pairs and instruments (futures, options, lending markets)
- Better liquidity when entering or exiting positions
- More on-ramps and off-ramps if you eventually want to move into fiat
3. Self-custody and privacy
Many traders prefer to avoid centralized exchanges that require full KYC and hold user funds. Using a non-custodial FET to BTC swap service allows you to:
- Trade directly from your own wallet
- Avoid exposing personal data unless absolutely necessary
- Reduce counterparty risk from keeping large balances on exchanges
Key Benefits of a Non-Custodial FET to BTC Swap
Not all swap methods are equal. A non-custodial, instant swap platform offers distinct advantages over classic exchange trading.
1. You keep control of your funds
With non-custodial services, you never deposit your coins into an exchange account. Instead, you send FET from your wallet directly to a swap address and receive BTC back to a wallet you control. This reduces the risk of:
- Exchange hacks and insolvency events
- Withdrawal freezes and unexpected account limits
- Operational failures locking your funds
2. No lengthy sign-ups or KYC in many cases
For relatively small and medium-sized swaps, many platforms allow you to convert FET to BTC with minimal friction. This can be particularly useful if you:
- Trade occasionally and do not want to maintain multiple exchange accounts
- Value privacy and data minimization
- Need to move quickly during volatile market moves
3. Speed and simplicity
Instead of juggling order books, limits, and market orders, a one-step fet to btc swap interface usually just asks for:
- The asset you send (FET)
- The asset you receive (BTC)
- Your BTC receiving address
- The amount to swap
Once you confirm, you send FET to a unique address and wait for blockchain confirmations. The process is easy even for non-professional traders.
4. Often better for smaller or one-off trades
If you only need to convert FET into BTC occasionally, using a dedicated swap service can be more convenient than:
- Creating and verifying an account on a centralized exchange
- Depositing FET, waiting for confirmation, trading, then withdrawing BTC
- Paying multiple sets of withdrawal and trading fees
Risks and Drawbacks to Consider
Despite the benefits, a FET to BTC swap is not risk-free. It is important to understand the trade-offs before sending funds.
1. Price slippage
Instant swap providers typically aggregate liquidity behind the scenes. If the market is thin or volatile, the actual execution price might differ from what you first see in the quote. Potential drawbacks include:
- Receiving slightly less BTC than expected in fast-moving markets
- Worse effective rates for very large trades
Look for services that show clear estimated rates and, when available, support fixed-rate swaps to lock in a price for a limited time.
2. Network fees and confirmation times
Your swap involves at least two on-chain transactions:
- Your FET transfer from your wallet to the swap address
- The service sending BTC to your BTC address
Both sides incur blockchain fees, which vary based on network congestion. BTC fees in particular can spike during busy periods, causing:
- Higher total cost for the swap
- Longer wait times for confirmations
3. Platform trust and reliability
Non-custodial does not mean risk-free. You still rely on the service to:
- Execute the swap according to the quoted rate and time window
- Handle support if transactions are delayed or stuck
- Maintain accurate, transparent status updates
Reduce risk by choosing a reputable private exchange with a track record, clear policies, and responsive support.
4. Irreversible transactions
Crypto transfers are typically final. If you:
- Send FET to the wrong address or network
- Input an incorrect BTC receiving address
- Ignore the minimum or maximum amounts set by the platform
There is often no guarantee your funds can be recovered. Double-check details before confirming any transaction.
Step-by-Step Guide: How to Swap FET to BTC
This general walkthrough applies to most non-custodial swap platforms. Specific interfaces may differ slightly, but the core flow is similar.
Step 1: Prepare your wallets
- FET wallet: Ensure you control the wallet that holds your FET and that it is on the correct network (for example, ERC-20 or native, depending on your holdings).
- BTC wallet: Have a secure Bitcoin address ready to receive the swapped coins. This might be a hardware wallet, mobile wallet, or desktop wallet where you control the private keys.
- Gas and fees: Make sure you have enough network fees (for example, ETH if using FET as an ERC-20 token) to send your FET.
Step 2: Choose a non-custodial swap service
Select a reliable platform that supports the FET to BTC pair. Look for features like:
- Clear quoted rates and estimated amounts
- Transparent fee information
- Support for non-custodial swap flows
- Good user reviews and a history of successful transactions
Step 3: Configure the swap
- Choose FET as the asset you are sending.
- Choose BTC as the asset you will receive.
- Enter the amount of FET you want to swap, or specify how much BTC you want to receive if the interface allows reverse calculation.
- Paste your BTC receiving address very carefully. Verify the first and last few characters and, if possible, use your wallet’s QR code scanner to avoid typos.
The platform should now display the estimated BTC amount and any implied fees or rate spreads.
Step 4: Review the rate and limits
Before proceeding, check:
- Whether the rate is floating (subject to market changes) or fixed for a short time window
- The minimum and maximum allowed transaction amounts
- Any time limit to send your FET for the quote to remain valid
If you are satisfied, confirm the swap details. The service will then generate a unique FET deposit address for this specific transaction.
Step 5: Send FET from your wallet
- Copy the FET deposit address from the swap page.
- Open your FET wallet and initiate a transfer to this address.
- Double-check:
- The address matches exactly
- The amount is within the allowed limits
- You are using the correct blockchain/network
- Send the transaction and note the transaction ID (hash) so you can track it.
Return to the swap interface. It should detect the incoming FET once your transaction has the required number of confirmations.
Step 6: Wait for BTC delivery
After the FET side is confirmed, the service will execute the swap and send BTC to your specified address. You can usually track progress through statuses such as:
- Awaiting deposit
- Confirming
- Exchanging
- Sending to your BTC address
- Completed
Once completed, check your Bitcoin wallet to verify that the expected amount of BTC has arrived.
Practical Tips for a Smooth FET to BTC Swap
1. Start with a small test amount
If it is your first time using a particular service, consider sending a small amount of FET first. This allows you to:
- Verify that the process works with your wallets
- Confirm the timing and fees
- Build trust before swapping larger sums
2. Avoid peak congestion when possible
When the Bitcoin network is highly congested, fees and confirmation times can spike. If your swap is not urgent, consider waiting for:
- Lower network activity (often weekends or off-peak hours)
- More reasonable fee estimates
3. Keep transaction records
For every FET to BTC swap you make, save key information:
- Transaction IDs for FET and BTC
- Screenshots or PDFs of the swap quote and status page
- Time and date of the transaction
This documentation is useful for troubleshooting and for tax or accounting purposes.
4. Double-check network and token standards
FET may exist on different networks (for example, as an ERC-20 token). Confirm that:
- Your wallet and the swap service agree on which version you are using
- You are not sending across incompatible networks
Mismatched networks are one of the most common causes of lost funds in swaps.
5. Use secure devices and connections
Before initiating any swap:
- Ensure your device is free of malware and keyloggers
- Avoid public Wi-Fi for significant amounts
- Prefer hardware wallets or trusted software wallets where possible
Conclusion
Making a FET to BTC swap does not have to be complicated. By using a reputable, non-custodial service, you can convert AI-focused assets like FET into Bitcoin quickly, without surrendering control of your funds to a centralized exchange.
Always take the time to verify addresses, understand the rate you are getting, and be aware of both the benefits and risks. With careful attention to detail and a solid process, you can use a private exchange for FET to BTC as a powerful tool for portfolio management, risk control, and long-term strategy in the evolving crypto market.
Ready to Swap?
Convert your crypto instantly on GhostSwap — no KYC, no sign-up required.
Popular swaps: BTC to XMR | BTC to ETH | XMR to BTC | ETH to XMR | BTC to SOL