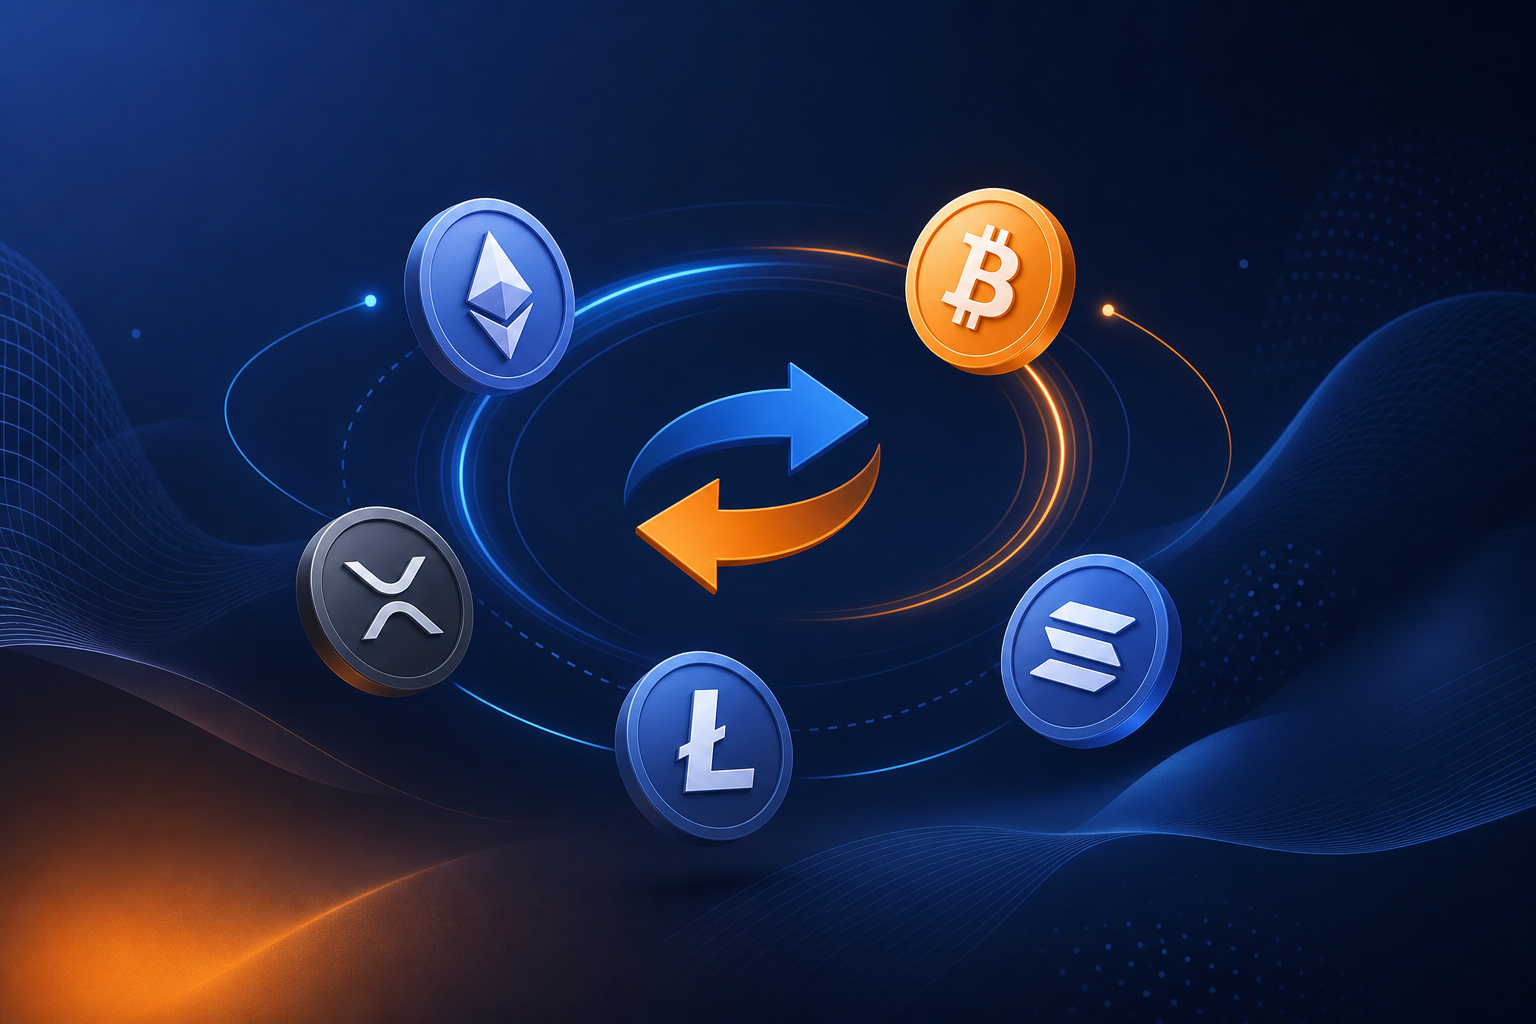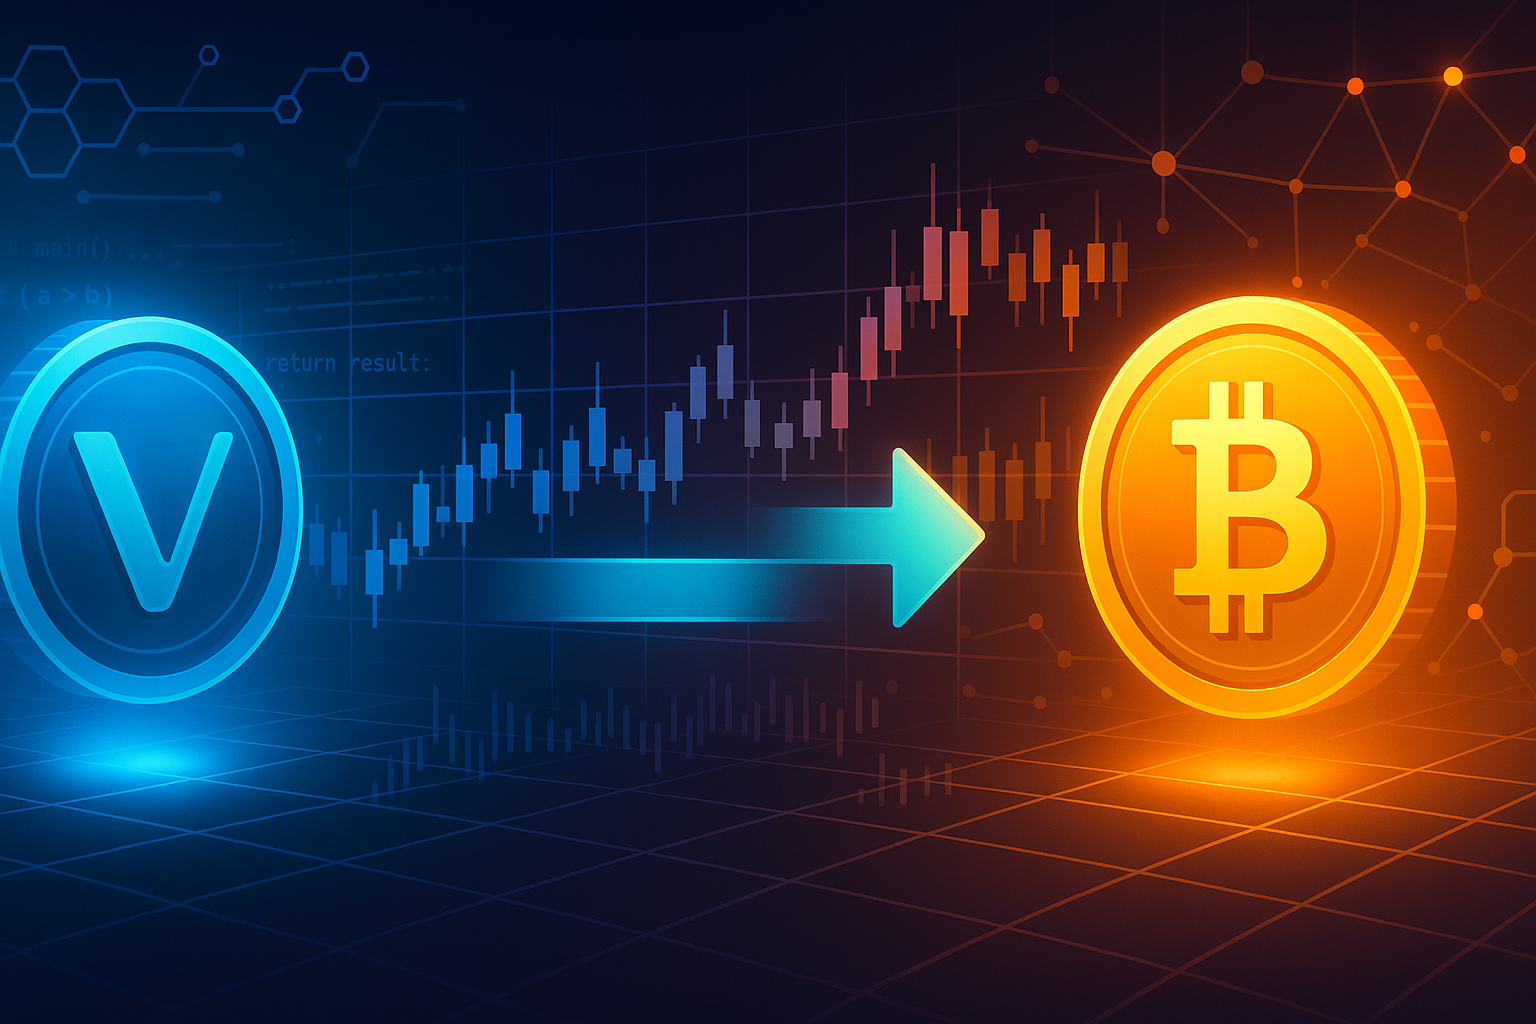
VET to BTC Swap: How to Exchange VeChain for Bitcoin Safely and Efficiently
Introduction
VeChain (VET) has become a popular choice for investors who believe in supply chain and enterprise blockchain solutions. At the same time, Bitcoin (BTC) remains the primary reserve asset of the crypto market and the most widely recognized digital currency. If you hold VET and want to rotate into BTC, understanding how a VET to BTC swap works is essential.
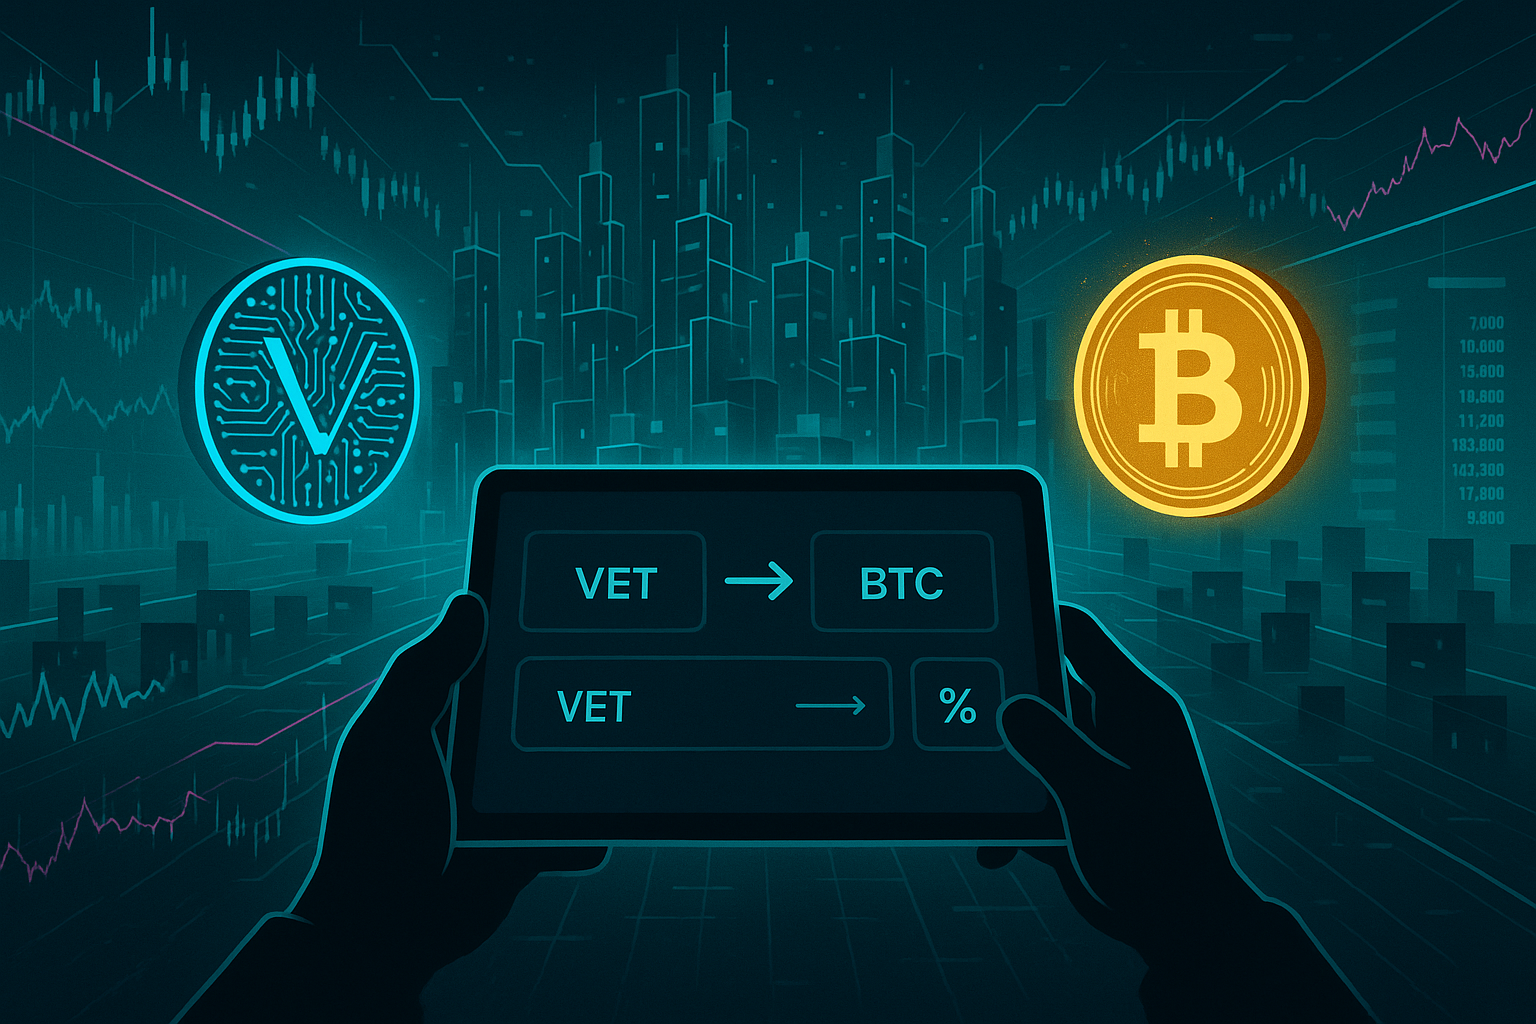
Today, you do not need a centralized exchange account or a complicated trading interface to convert VET to BTC. With modern non-custodial platforms, you can perform a vet to btc swap directly from your own wallet, often in just a few minutes.
This guide explains why swapping VET to BTC matters, the key benefits and risks, and provides a detailed step-by-step walkthrough along with practical tips to help you get the best possible outcome.
Why VET to BTC Swaps Matter
Portfolio rebalancing and risk management
Crypto markets move quickly. You might start with a large VET position because you believe in VeChain’s technology, then decide to increase your Bitcoin exposure as market conditions change. A VET to BTC swap lets you:
- Lock in profits if VET has appreciated relative to BTC
- Reduce exposure to a single project or sector
- Increase your allocation to BTC as a long-term store of value
- Align your holdings with your updated risk tolerance
Access to liquidity and optionality
Bitcoin is the most liquid crypto asset. Once you hold BTC, you typically have:
- More trading pairs on centralized and decentralized platforms
- Easier access to fiat on-ramps and off-ramps
- Broader use cases, including payments, collateral and savings products
Swapping VET to BTC can therefore be a strategic move to improve the flexibility of your crypto portfolio.
Control and self-custody
Historically, many people converted altcoins to BTC on centralized exchanges, leaving funds in exchange wallets. This created counterparty risk. With modern non-custodial tools, you can move value from VET into BTC while keeping control of your private keys throughout the process.
Key Benefits of a VET to BTC Swap
1. Exposure to Bitcoin’s long-term potential
VET is closely tied to VeChain’s enterprise adoption and network growth. BTC, on the other hand, is widely viewed as “digital gold” with a different risk and return profile. Swapping some VET for BTC can:
- Diversify your exposure away from a single protocol’s success
- Potentially reduce volatility in your holdings
- Position you for Bitcoin-specific narratives, like institutional adoption or macro hedging
2. Improved liquidity and market depth
BTC typically has tighter spreads and deeper liquidity than VET. This means a VET to BTC swap can sometimes be executed with:
- Less price slippage on the BTC side
- Better execution quality in volatile markets
- Easier scaling for larger trades
3. Convenience with instant non-custodial swaps
Instead of registering on an exchange, passing extensive KYC checks and waiting for approvals, you can use platforms that let you swap crypto instantly from one wallet to another. These services typically:
- Do not hold your funds in long-term custodial wallets
- Generate deposit addresses unique to your swap
- Route your trade through liquidity sources behind the scenes
4. Privacy and reduced data exposure
Some users prefer to limit the amount of personal data they share with custodial exchanges. Using a private exchange model that centers on wallet-to-wallet swaps can reduce your reliance on large centralized platforms that store identity documents and extensive trading histories.
Risks and Drawbacks of Swapping VET to BTC
1. Market risk and timing
Crypto prices are volatile. When you execute a VET to BTC swap, you are exposed to:
- Execution risk: The price of VET or BTC can move between the time you initiate the swap and the moment it settles.
- Relative performance risk: After swapping, VET might outperform BTC, meaning you would have been better off holding VET.
There is no way to eliminate market risk completely, but you can mitigate it with careful planning and realistic expectations.
2. Network fees and transaction costs
Every swap involves costs. For a VET to BTC swap, you may encounter:
- VET network fees for sending your tokens to the swap address
- Service or spread fees embedded in the rate offered by the swap provider
- BTC network fees for the outgoing transaction to your BTC wallet
Fees vary with network congestion and the liquidity sources used, so always check estimated costs before confirming a swap.
3. Counterparty and technical risk
Even non-custodial swap platforms involve some counterparty and technical risk:
- Service reliability: Outages, delayed transactions or maintenance windows can affect your swap.
- Address errors: Sending VET from or BTC to the wrong address can lead to irreversible loss of funds.
- Smart routing or conversion issues: Depending on the routing model, intermediate conversions might introduce additional slippage.
4. Regulatory and tax considerations
In many jurisdictions, swapping one cryptocurrency for another is a taxable event. You may incur capital gains or losses when you convert VET to BTC. Regulations also differ on whether non-custodial services fall under specific licensing requirements.
Always check local regulations and consult a tax professional if you are unsure how crypto-to-crypto swaps are treated in your country.
Step-by-Step Guide to a VET to BTC Swap
The exact process depends on the platform you use, but a typical non-custodial VET to BTC swap works as follows.
1. Prepare your wallets
- VET wallet: Ensure you have a secure wallet that supports VeChain and enough VET to cover both the swap amount and the network fee.
- BTC wallet: Set up a Bitcoin wallet where you will receive the BTC. This could be a hardware wallet, mobile wallet or desktop wallet, as long as you control the private keys.
- Backups: Verify that you have properly backed up your seed phrases and recovery options before moving significant amounts.
2. Choose a non-custodial swap service
Select a platform that offers a direct VET to BTC pair and supports a non-custodial swap model. Check:
- Supported assets (VET and BTC must be listed)
- Reputation and security history
- Transparency about rates and fees
- Customer support options
3. Enter swap details
- Select VET as the asset you send and BTC as the asset you receive.
- Input the amount of VET you want to convert. The platform will calculate the estimated amount of BTC you will receive.
- Provide your BTC receiving address carefully, double checking every character or using QR scan when available.
4. Review the rate and fees
Before you confirm, carefully review:
- The estimated exchange rate for VET/BTC
- Any explicit service fee or the implied spread in the quote
- Estimated processing time for the swap
If you are using a service like this VET to BTC private exchange flow, you will typically see a clear confirmation screen that summarizes all the key details.
5. Send your VET to the provided address
Once you confirm the swap terms, the platform will generate a unique VET deposit address for your order. To proceed:
- Copy the address or scan the QR code into your VET wallet.
- Send the exact amount of VET you agreed to swap.
- Keep the transaction ID (hash) from your wallet in case you need support.
6. Wait for confirmations and BTC delivery
After your VET transaction is broadcast, the platform will wait for the required number of network confirmations. Then it will execute the conversion and send BTC to the address you provided. You can usually monitor progress via:
- An order status page on the swap site
- VET and BTC block explorers that show confirmations and final settlement
7. Verify BTC receipt and secure your funds
Once the swap completes:
- Check your BTC wallet balance and confirm that the received amount matches the expected range.
- Consider moving BTC to long-term cold storage if it is a large amount.
- Save any order IDs or receipts for tax and accounting purposes.
Practical Tips for a Safe and Efficient VET to BTC Swap
1. Start with a small test amount
If you are using a new service or wallet for the first time, send a small test amount of VET to make sure:
- The address is correct
- The platform credits your transaction properly
- You understand how the process works end to end
Once the test succeeds, you can proceed with a larger swap.
2. Pay attention to network conditions
Network congestion can increase fees and slow down confirmations. Before you initiate the swap:
- Check typical VET and BTC fee levels and confirmation times
- Avoid periods of extreme volatility when spreads are wide
- Consider whether you are comfortable with potential delays
3. Double check addresses and amounts
Errors in crypto transactions are usually irreversible. To minimize risk:
- Copy and paste addresses instead of typing them manually
- Verify the first and last few characters of every address
- Ensure the VET amount matches the order exactly, unless the platform clearly supports variable amounts
4. Compare rates across providers
Different services may quote slightly different VET/BTC rates due to their liquidity sources and fee structures. For larger swaps:
- Check rates on two or three platforms
- Consider both the displayed rate and any additional service fees
- Factor in withdrawal or on-chain fees on the BTC side
5. Protect your privacy and security
Although non-custodial swaps can improve privacy compared to traditional exchanges, security hygiene still matters:
- Use a secure device with updated software
- Avoid public Wi-Fi for significant transactions
- Store seed phrases offline and never share them
- Beware of phishing sites that mimic known swap platforms
6. Keep records for taxes and tracking
For each VET to BTC swap, consider saving:
- Date and time of the transaction
- Amount of VET sent and BTC received
- Transaction IDs on both blockchains
- USD or local currency value at the time, if required for tax calculation
Good record-keeping will make tax reporting and portfolio analysis much easier later on.
Conclusion
A VET to BTC swap is more than a simple trade between two cryptocurrencies. It is a strategic move that can rebalance your portfolio, increase your exposure to Bitcoin’s long-term narrative and enhance your liquidity options. Thanks to modern non-custodial platforms, you can perform this conversion directly from your own wallet, without giving up control of your private keys.
At the same time, you should be aware of the market, fee and operational risks involved. Taking the time to understand the process, verify addresses, compare rates and follow best practices will help you execute your swaps safely and efficiently. When you are ready to convert VeChain into Bitcoin, using a trusted VET to BTC non-custodial swap service can make the experience fast, private and user friendly.
As the crypto ecosystem evolves, being able to move smoothly between assets like VET and BTC will remain an important skill for both new and experienced investors. By following the steps and tips outlined here, you will be better prepared to manage your holdings across different market cycles and opportunities.
Ready to Swap?
Convert your crypto instantly on GhostSwap — no KYC, no sign-up required.
Popular swaps: BTC to XMR | BTC to ETH | XMR to BTC | ETH to XMR | BTC to SOL