How to Use MetaMask for Swaps: A Complete, Practical Guide
Introduction
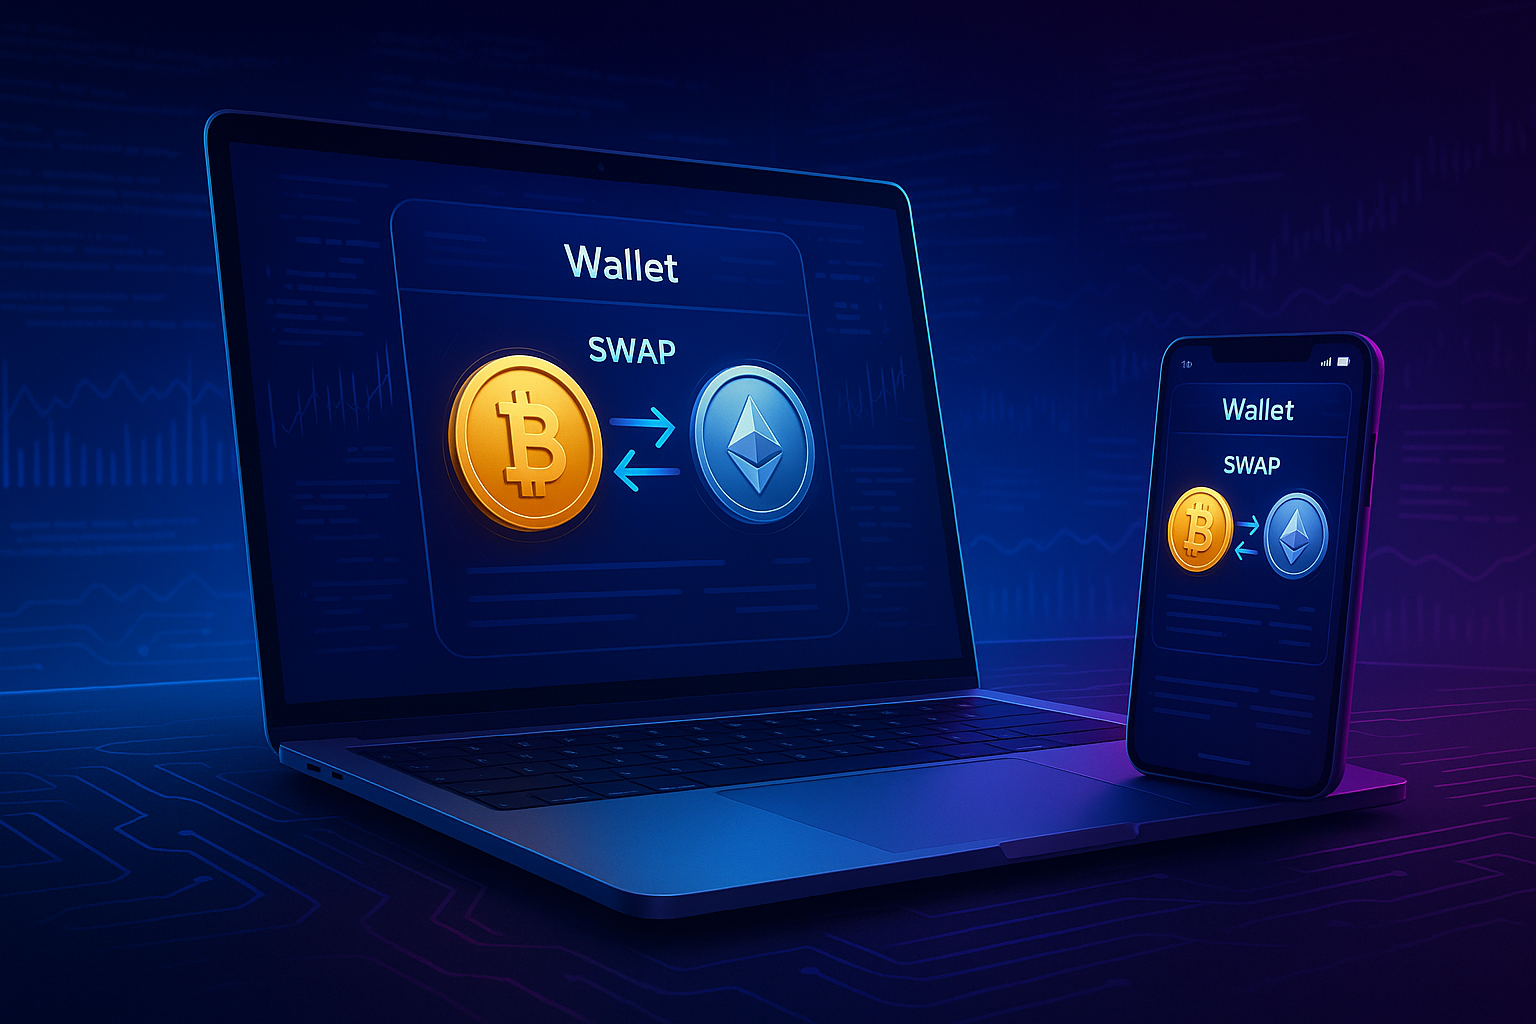
If you are learning how to use MetaMask for swaps, you are probably looking for a fast, convenient way to trade one cryptocurrency for another without sending funds to a centralized exchange. MetaMask Swaps lets you trade directly from your wallet by aggregating prices from multiple decentralized exchanges (DEXs) and liquidity sources.
At the same time, MetaMask is only one option in the broader world of non-custodial swapping tools. For some users, combining wallet-based swaps with a dedicated private exchange can provide more flexibility, better privacy, or different fee structures.
This guide walks you through exactly how to use MetaMask for swaps, from the basic concepts through a detailed step-by-step process, plus practical tips, common risks, and alternatives. Whether you are a beginner or an experienced DeFi user, you will find clear, actionable instructions you can follow right away.
Why Knowing How to Use MetaMask for Swaps Matters
Understanding how to use MetaMask for swaps is useful for several reasons:
- Direct access to DeFi: Swapping inside MetaMask gives you access to DeFi protocols without going through a centralized exchange.
- Self-custody: You keep control of your private keys and funds at all times.
- Speed and convenience: Swaps can be executed in a few clicks once your wallet is funded and connected to the right network.
- Better capital efficiency: Instead of moving funds through multiple accounts and exchanges, you can swap directly from your wallet.
As crypto moves further into a non-custodial, wallet-centric model, the ability to execute safe, efficient swaps from a wallet like MetaMask is becoming a must-have skill.
What Is MetaMask Swaps?
MetaMask Swaps is a feature built into the MetaMask wallet that lets you trade tokens directly from your wallet interface. Instead of acting as a centralized exchange, MetaMask behaves as an aggregator:
- It queries multiple DEXs and liquidity providers (known as aggregators).
- It compares available routes, prices, fees, and slippage.
- It returns a quote and allows you to execute the swap with one on-chain transaction.
Some key points about MetaMask Swaps:
- Non-custodial: Your funds remain in your wallet. MetaMask does not take custody.
- On-chain: The swap occurs on the blockchain, so you pay transaction (gas) fees.
- Multi-network support: Swaps are supported on Ethereum mainnet and several EVM-compatible networks, such as BNB Chain, Polygon, and others that MetaMask supports, though availability can vary.
- Aggregator fee: MetaMask charges a small service fee on swaps in addition to network gas fees.
Knowing these basics will help you interpret the quotes and costs you see when you perform a swap.
Benefits of Using MetaMask for Swaps
1. Self-Custody and Control
With MetaMask, you control your private keys. Swaps occur directly from your wallet, which means:
- No depositing into centralized exchanges.
- No withdrawal delays or withdrawal limits from an exchange.
- Reduced counterparty risk, since you are not trusting an intermediary to hold your coins.
2. Access to Multiple Liquidity Sources
MetaMask Swaps aggregates liquidity from different DEXs and liquidity providers. Instead of manually checking each DEX for the best price, MetaMask does this automatically and presents:
- Best available price for the pair.
- Estimated gas fees.
- Route information, such as intermediate tokens, if applicable.
This combination can result in better overall execution compared to swapping on a single DEX, especially for less-liquid tokens.
3. User-Friendly Experience
The swap flow in MetaMask is streamlined:
- Select the token you want to swap from and to.
- Enter the amount.
- Review quote, slippage, and gas fees.
- Confirm and sign the transaction.
You do not have to navigate separate DEX interfaces, connect wallets multiple times, or manually set up trading pairs.
4. Direct Integration With Your Existing Wallet
If you already use MetaMask to store tokens, interact with dApps, or manage NFTs, adding swaps is a natural extension. There is no new account to create, and you use the same recovery phrase and security practices.
Risks and Drawbacks of Using MetaMask for Swaps
Knowing how to use MetaMask for swaps includes understanding the risks. Swaps are not risk-free, even with a trusted wallet.
1. Smart Contract and Protocol Risk
When you execute a swap, you are interacting with smart contracts. Risks include:
- Smart contract vulnerabilities in the underlying DEX or aggregator.
- Potential bugs in token contracts themselves.
- Malicious or poorly designed tokens that behave unexpectedly.
MetaMask primarily routes through well-known protocols, which reduces, but does not eliminate, smart contract risk.
2. Market Risk and Slippage
Crypto prices can move quickly. By the time your transaction is confirmed, the price may have changed. This leads to:
- Slippage: The difference between the expected price and the execution price.
- Failed transactions: If the price moves outside your slippage tolerance, the transaction can fail, costing you gas fees.
You can control slippage tolerance in MetaMask, but a very tight setting might result in more failed transactions, especially in volatile markets.
3. Gas Fees and Aggregator Fees
On networks like Ethereum, gas fees can be significant, particularly during high congestion:
- Gas fees are paid whether a transaction succeeds or fails.
- MetaMask charges a service fee for swaps on top of gas costs.
For large trades, these costs may be acceptable. For smaller trades, fees can eat into a noticeable portion of your position.
4. Token and Scam Risks
Not all tokens are legitimate or liquid. Risks include:
- Buying tokens with very low or zero real liquidity, making them hard to sell.
- Tokens with transfer taxes that reduce your balance unexpectedly.
- Malicious contracts designed to prevent selling (so-called “honeypots”).
Always research a token before swapping into it, even if it appears in MetaMask’s interface.
5. Privacy Considerations
On-chain swaps are transparent. Anyone can:
- View your wallet address and track your transactions.
- Analyse your activity to build a profile of holdings and behavior.
If privacy is a priority, wallet swaps are only part of the solution. Some users also explore off-exchange, non-custodial solutions such as swap crypto instantly tools that focus more specifically on privacy and do not require accounts.
Step-by-Step Guide: How to Use MetaMask for Swaps
This section gives you a practical walk-through of how to use MetaMask for swaps. The exact interface may vary slightly depending on which MetaMask version you use (browser extension vs. mobile) and which network you are on, but the flow is similar.
Prerequisites
Before you start, you will need:
- MetaMask installed: Either as a browser extension (Chrome, Firefox, Brave, Edge) or as a mobile app.
- A funded wallet: You must have:
- Some native coin for gas (e.g., ETH on Ethereum, MATIC on Polygon, BNB on BNB Chain).
- The token you want to swap from.
- The correct network selected: If you want to swap ERC-20 tokens on Ethereum, your network should be Ethereum mainnet, etc.
Step 1: Open MetaMask and Select the Right Network
1. Open the MetaMask extension or mobile app.
2. At the top of the interface, locate the network dropdown.
3. Choose the network where your tokens currently live, such as:
- Ethereum Mainnet
- BNB Smart Chain
- Polygon
- Arbitrum, Optimism, or other EVM-compatible networks that you have configured
Swaps only work with the tokens and balances on the active network, so double-check that you are on the correct one.
Step 2: Ensure You Have Sufficient Gas and Token Balance
Check that:
- Your token balance is large enough to cover the amount you want to swap.
- Your native coin balance (e.g., ETH) is enough to cover:
- Estimated gas fees.
- Any additional interactions (approvals) required.
MetaMask will show you gas estimates later, but starting with a comfortable buffer helps avoid failed transactions.
Step 3: Open the Swaps Interface
In MetaMask:
- From the main wallet view, find and click the “Swap” button.
On desktop it usually appears right under your account name. On mobile it might appear as one of the main action buttons. - This opens the Swaps panel where you configure your trade.
Step 4: Choose the Tokens to Swap
Inside the swaps panel:
- Under “Swap from”, select the token you currently hold and want to trade out of (for example, USDC, DAI, or ETH).
- Under “Swap to”, select the token you want to receive.
- If your desired token does not appear automatically:
- Use the search bar to look it up by name or ticker.
- If still unavailable, you may need to add it via its contract address. Only do this for tokens you have researched and trust.
Step 5: Enter the Swap Amount
Now:
- In the amount field under “Swap from”, type the amount you want to trade, or use the Max button if you want to swap nearly all of your balance.
- MetaMask will:
- Estimate the amount of the target token you will receive.
- Show you a converted fiat value (USD or your default currency) for context.
Avoid using Max if that would leave you with zero native coin balance for future gas fees.
Step 6: Review the Quote and Slippage
When you enter an amount, MetaMask:
- Queries multiple DEXs and aggregators for the best route.
- Displays a quote that includes:
- Estimated receive amount.
- Price impact.
- MetaMask fee.
- Estimated gas fee.
You might see advanced settings such as:
- Slippage tolerance: Usually a default like 0.5% to 3%, depending on token and volatility.
- Deadline: How long the trade is valid before it is considered expired.
If you want more control:
- Click into the settings or gear icon.
- Adjust slippage tolerance to your preference:
- Lower slippage tolerance reduces the risk of a worse-than-expected price but increases the chance the transaction fails.
- Higher slippage tolerance increases the risk of adverse price movement but makes confirmation more likely during volatility.
Step 7: Approve the Token (If Required)
If you are swapping from a standard ERC-20 token (for example, USDC or DAI) for the first time through MetaMask Swaps or a specific DEX route, you may see an “Approve” step.
- This allows the swap contract to spend your tokens on your behalf.
- You will:
- Click “Approve”.
- Review and confirm the approval transaction in MetaMask.
- Pay a small gas fee for this approval.
MetaMask may let you limit the approval amount. Setting a tighter approval can be slightly more secure, but you might need to approve again for future swaps.
Step 8: Confirm the Swap
Once the quote looks good and any required approvals are complete:
- Click “Swap” or “Confirm Swap” in the Swaps panel.
- MetaMask will open a transaction confirmation window summarizing:
- Gas fee estimate and priority (low, medium, high, or custom).
- Total spend, including fees.
- Tokens in and out.
- Review carefully, then click “Confirm” to sign and broadcast the transaction.
Step 9: Wait for Confirmation
After you confirm:
- Your transaction is sent to the network for inclusion in a block.
- You can:
- View status in MetaMask’s activity tab.
- Click the transaction link to open it on a block explorer (like Etherscan for Ethereum) and monitor progress.
Once confirmed:
- Your “from” token balance will decrease.
- Your “to” token balance will increase.
If you do not see the new token in your list, you may need to import its contract address into MetaMask so that it appears in your interface.
Step 10: Verify the Result
Always double-check:
- The final token balance you received.
- The total fees paid (gas plus MetaMask fee) on the block explorer.
If something seems off, review the transaction details to understand whether the difference came from slippage, a token’s internal mechanics, or a configuration issue such as a high slippage tolerance.
Practical Tips for Safer and More Efficient MetaMask Swaps
1. Start With Small Test Swaps
When using a new token, route, or network:
- Run a small test swap first to:
- Confirm that the token is sellable.
- Check that the contract behaves as expected.
- Validate gas costs and slippage settings.
After a successful test, you can scale up to your full intended amount.
2. Monitor Gas Fees and Network Congestion
Gas fees can vary widely. To optimize:
- Check current network gas conditions.
- Try to swap during off-peak hours if possible.
- Use custom gas settings only if you understand how they work; setting gas too low may result in stuck or slow transactions.
For networks with high gas costs, consider whether a cheaper L2 or sidechain is appropriate for your use case.
3. Double-Check Token Contracts
When trading less-known tokens:
- Verify the token’s contract address from reputable sources:
- Official project website.
- Trusted aggregators or analytics platforms.
- Look for:
- Verified contract on block explorers.
- Reasonable liquidity and trading volume.
Avoid adding arbitrary contract addresses found in random chats or unverified posts.
4. Keep Your MetaMask Secure
MetaMask is your gateway to funds and swaps. Basic security practices include:
- Store your seed phrase offline, never share it, and never enter it into any website or form.
- Use a hardware wallet integrated with MetaMask for large balances.
- Beware of phishing sites that imitate MetaMask or popular DEXs.
- Lock your wallet or browser when leaving your device unattended.
5. Understand Slippage and Price Impact
For large or illiquid trades:
- Check the price impact shown in MetaMask. High price impact means your trade will move the market significantly, resulting in worse execution.
- Consider splitting your trade into multiple smaller swaps if slippage or price impact is too high.
6. Compare Options Across Non-Custodial Tools
MetaMask Swaps is convenient, but it might not always offer the best combination of privacy, fees, and routing for every situation. Sometimes it makes sense to compare multiple tools:
- Dedicated DEXs with specific pools.
- Cross-chain swap protocols when you need to move between networks.
- Account-free, non-custodial swap platforms when you prioritize not sharing personal data.
By understanding how different tools work, you can choose the method that best fits each trade.
Conclusion
Learning how to use MetaMask for swaps gives you a powerful, flexible way to trade tokens directly from your own wallet, without relying on centralized exchanges. You gain:
- More control over your funds through self-custody.
- Access to multiple liquidity sources via MetaMask’s aggregator.
- A streamlined interface that simplifies DeFi interactions.
At the same time, you must stay aware of:
- Gas costs and aggregator fees.
- Slippage, market volatility, and price impact.
- Smart contract, token, and privacy risks.
For many users, MetaMask Swaps is only one part of a broader toolkit that might also include centralized exchanges for fiat on-ramps, DEXs for specialized liquidity, and privacy-focused services that help you swap crypto instantly without accounts.
By following the step-by-step process in this guide, practicing careful token research, and staying alert to security and fee considerations, you will be well prepared to use MetaMask for swaps safely and efficiently across the evolving DeFi landscape.
Ready to Swap?
Convert your crypto instantly on GhostSwap — no KYC, no sign-up required.
Popular swaps: BTC to XMR | BTC to ETH | XMR to BTC | ETH to XMR | BTC to SOL